My yard space, my garden space, is limited. Maybe yours is too.
BOOOO!
How are we to grow our own yard-to-table tomatoes with limited space?
We get creative, that’s how.
In 2014, we built a cedar bed close to the house (in one of the few full sun spots available).
It was an easy project, meaning: you can do it too!
I wanted to share this post again, in case you too have limited space and need to build an easy raised bed.


What follows is the original post.
Husband + OMT! + DIY = you better be wearing a hardhat, baby!
While Husband and I prefer to work separately on DIY projects, each doing a specific job ~alone~, we did have that wonderfully easy project of building the smaller cedar bed together, so we figured WHAT THE HEY! and tried our luck again on a raised bed for fruits and veggies.
Pushing the envelope, that’s us!
Be forewarned this post is picture heavy.
Gripping backstory:
Me: I want a raised garden bed. Maybe the tomatoes will like it better and stop giving me the finger.
Husband: OK. Let’s build one.
Me: OK!
What follows is how we built, without plans or much forethought, a 2′ x 16′ raised cedar bed.
~ A gentle reminder: OMT! uses Amazon referral links. When you do your shopping through the Amazon links on this page, you support the blog at no cost to yourself. It’s much appreciated!~
What we used:
4 4x6x10 cedar planks: 4 @ $9.91 = $39.88
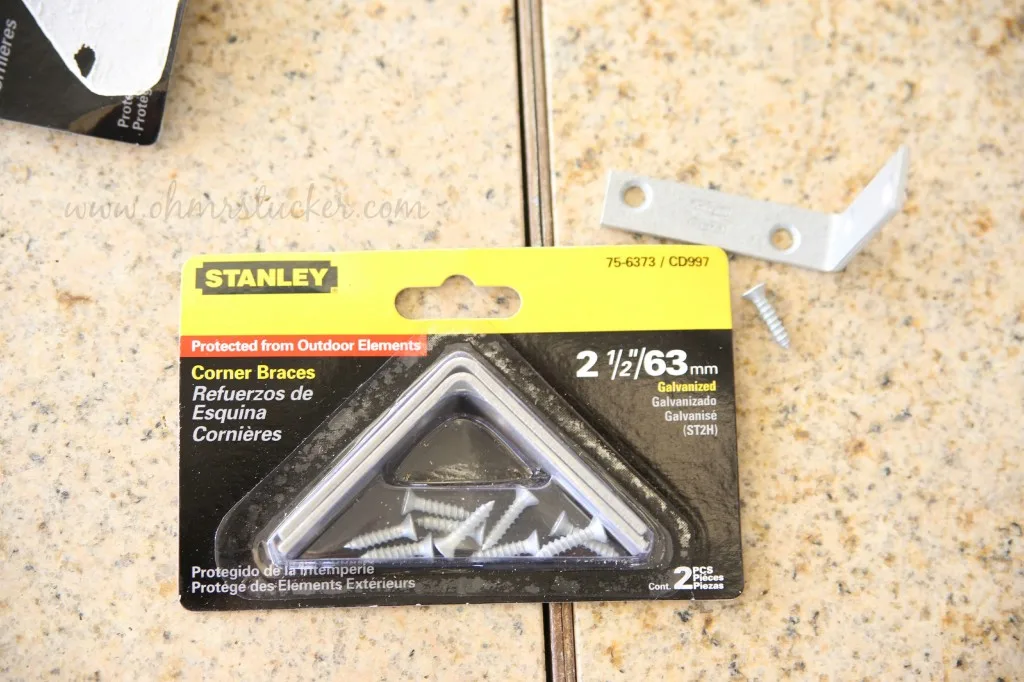
2 2-ct packages of Stanley Corner Braces 2-1/2″ (a total of 4 braces): 2 @ $2.90 = 5.80
6 10″ flat heavy gauge mending braces (sometimes called a mending plate): 6 @ $2.22 = $14.64
Total with tax = $65.30 for a 16′ x 2′ cedar bed
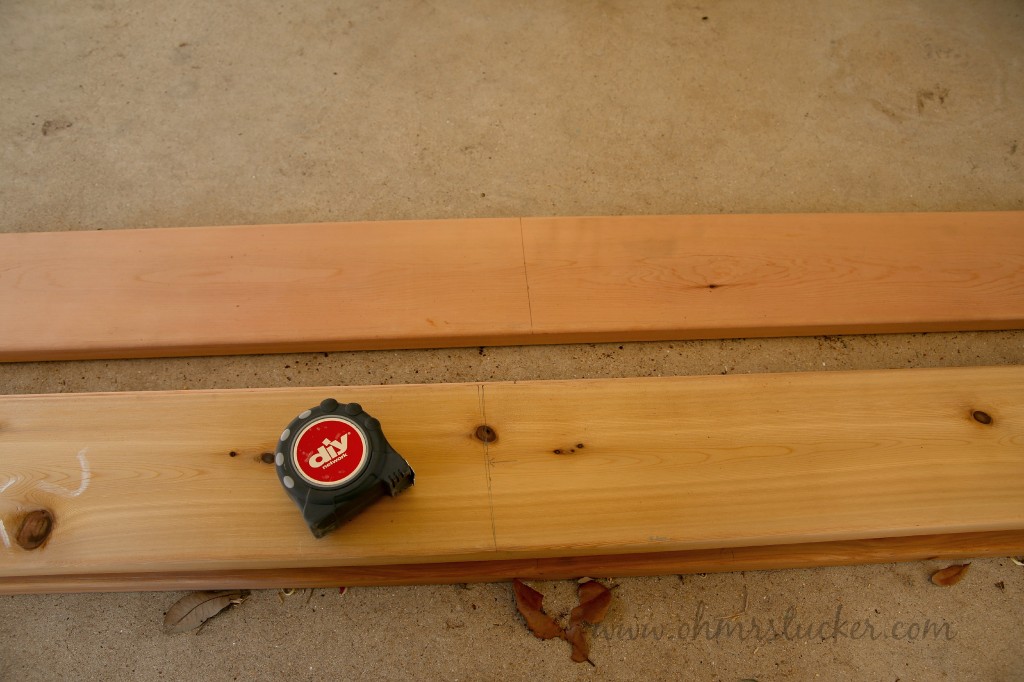
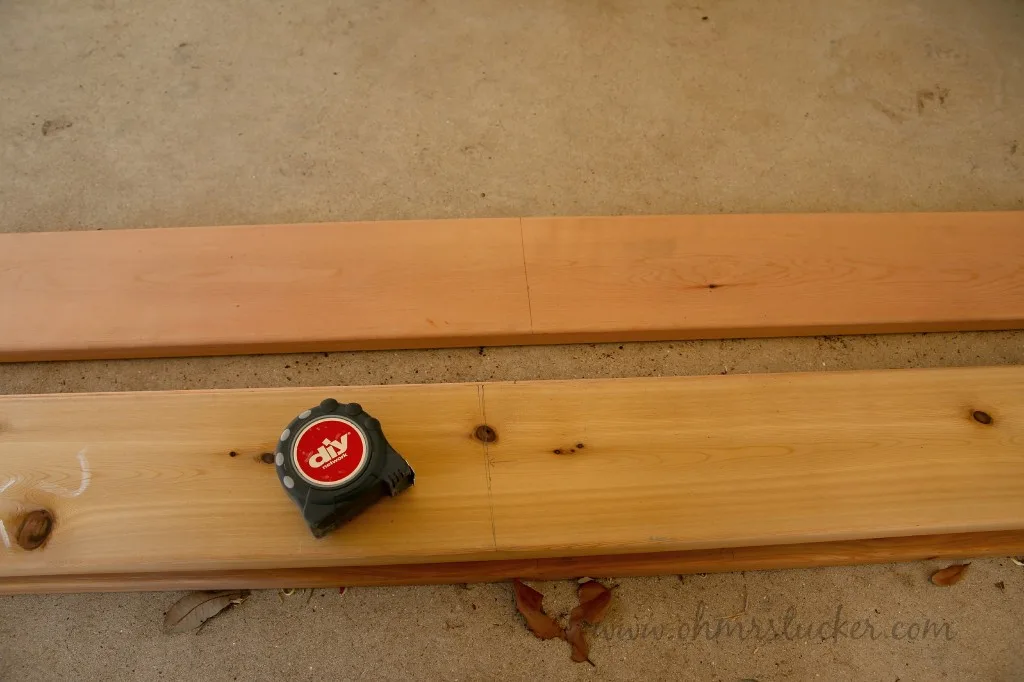
Each piece of cedar would need 2′ cut off to use as the sides. We started by measuring and then cutting the 2′ sections. Measure twice, cut once!
Improvised sawhorse: this is my dump truck action wagon. I highly recommend one (maybe like this) for hauling compost and dirt.


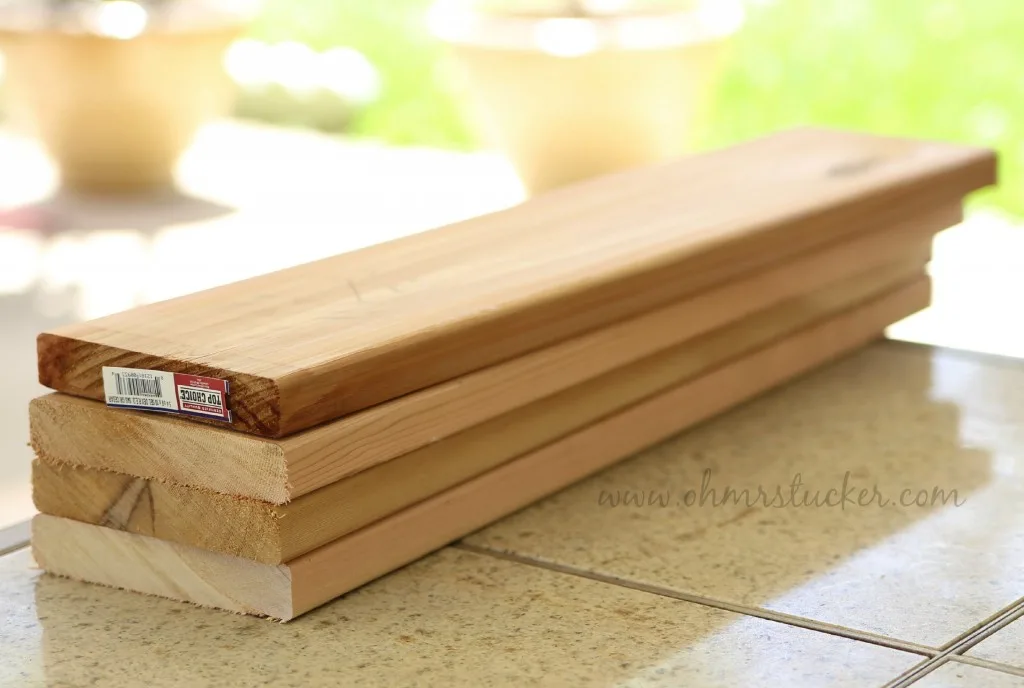
The 4 pieces that will become the sides of the raised bed:

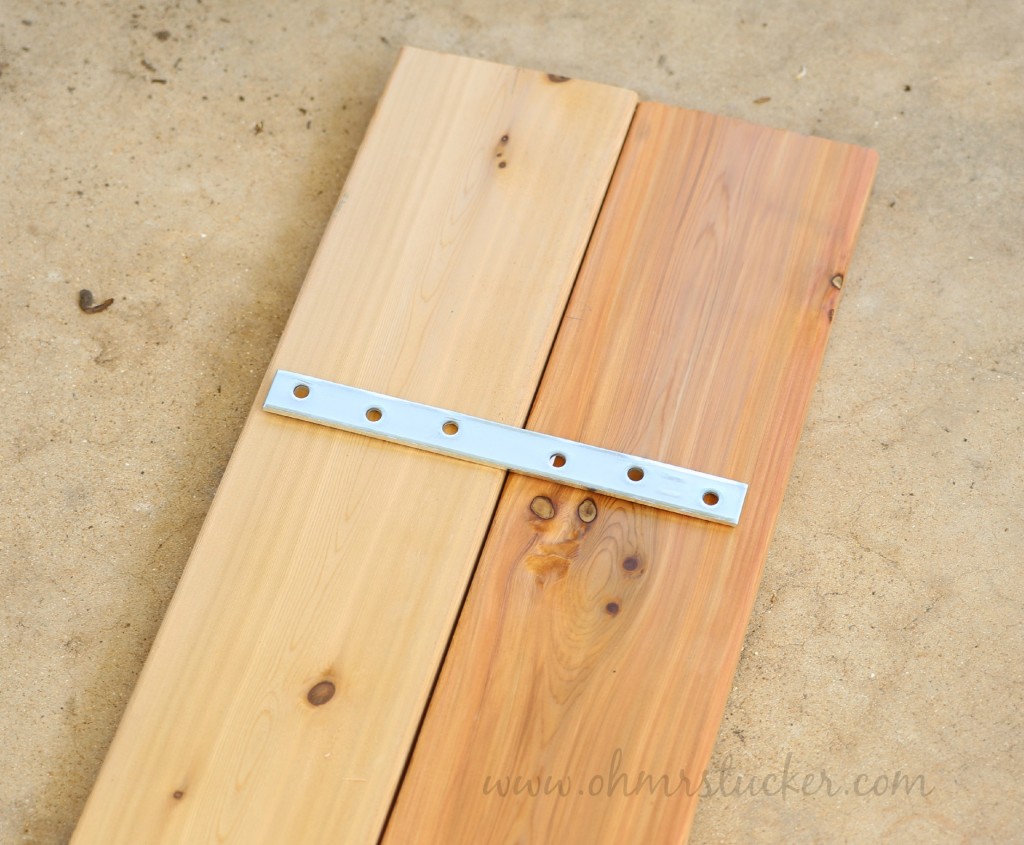
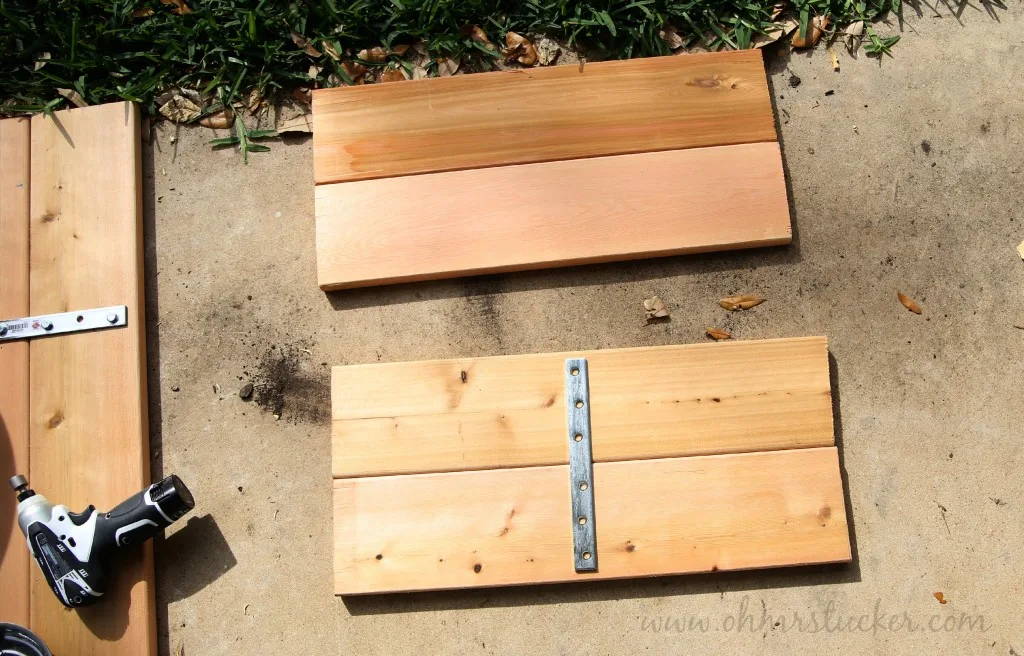
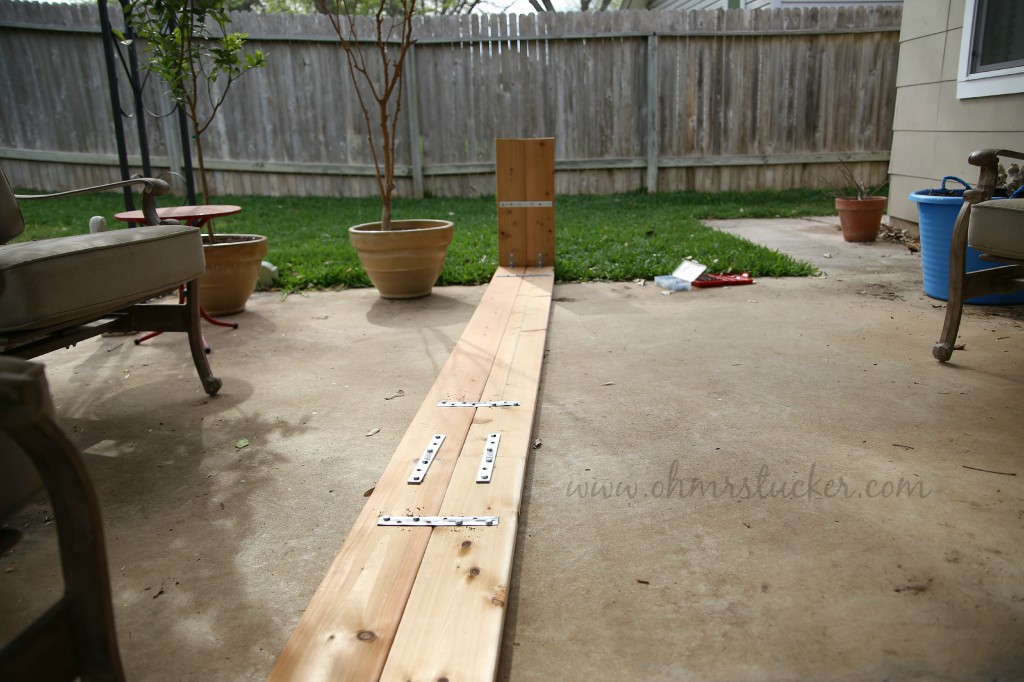
After cutting the front pieces (four 8′ long planks), we laid them on the patio to figure out how we would connect them:

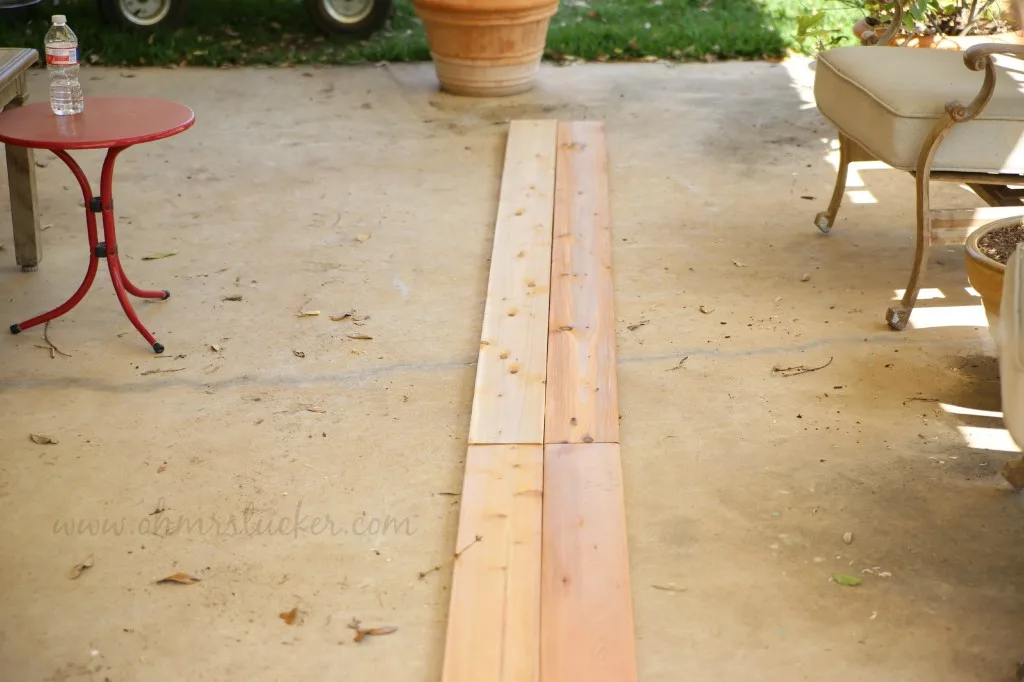
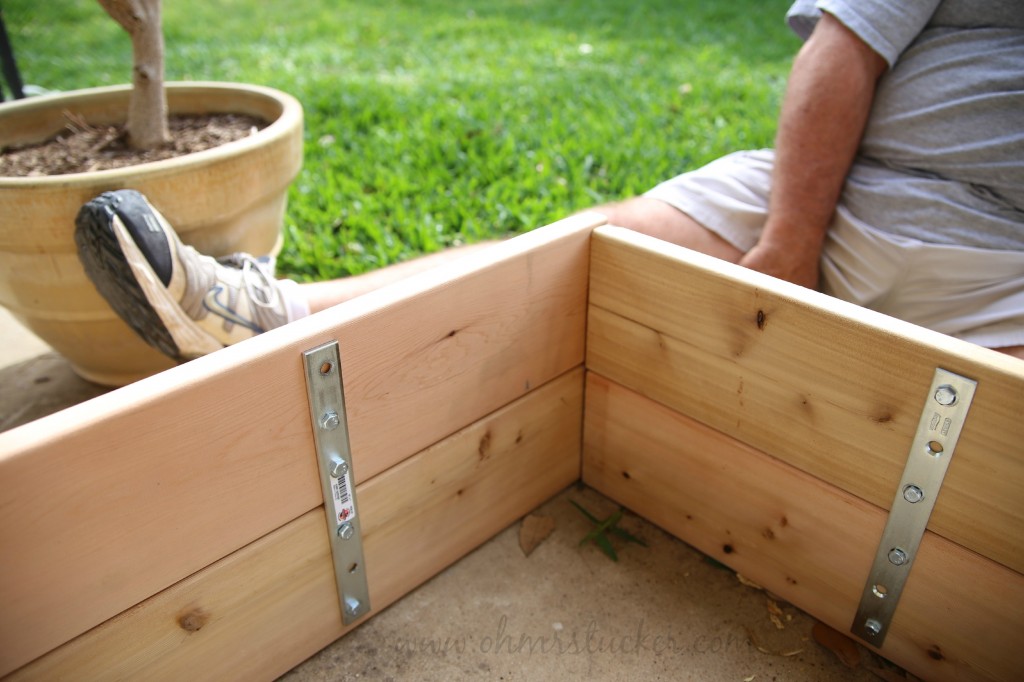
We used a 10″ mending brace to connect each piece horizontally:

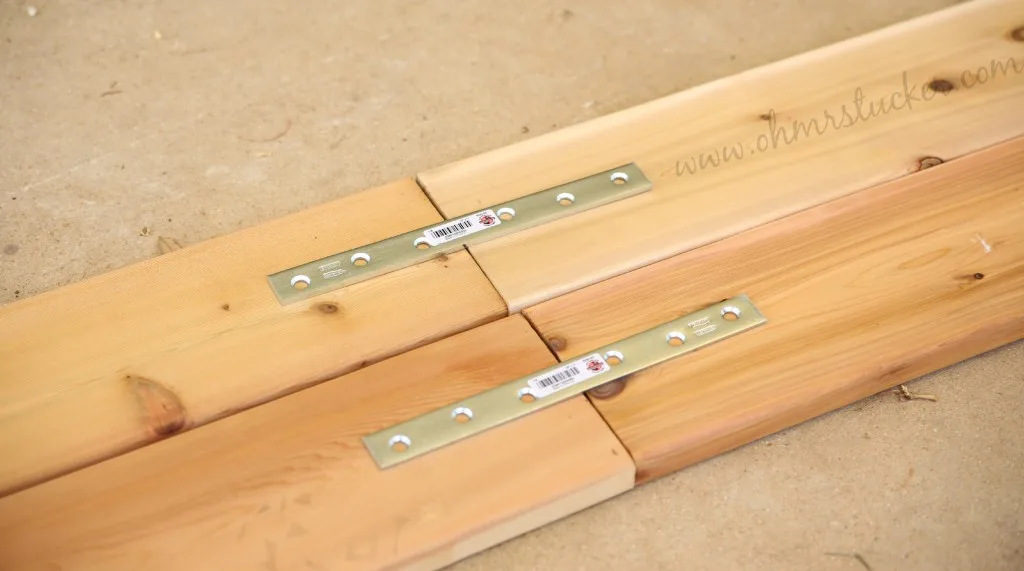
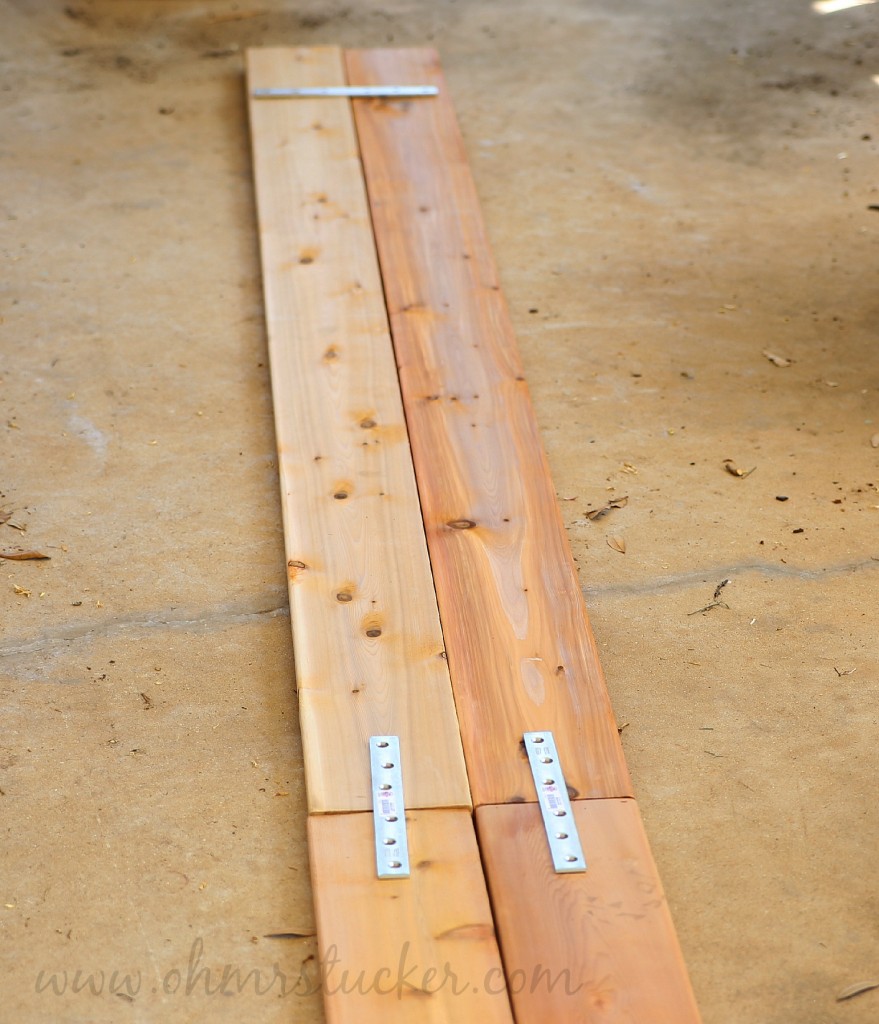
Then one vertically towards the end of the planks:

A long shot so you can see it fully:

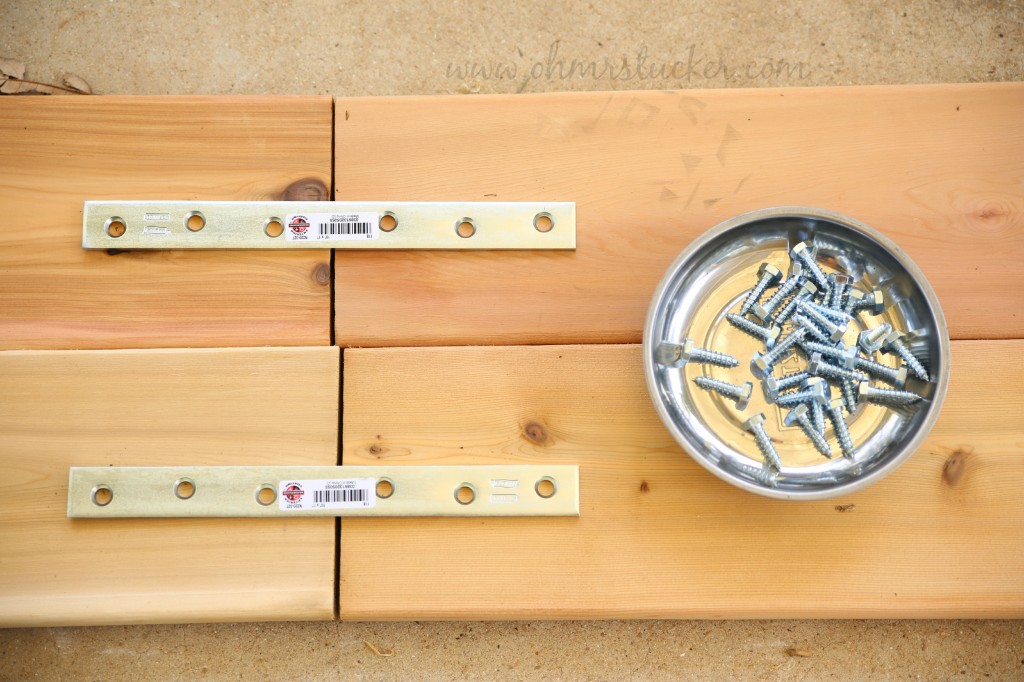
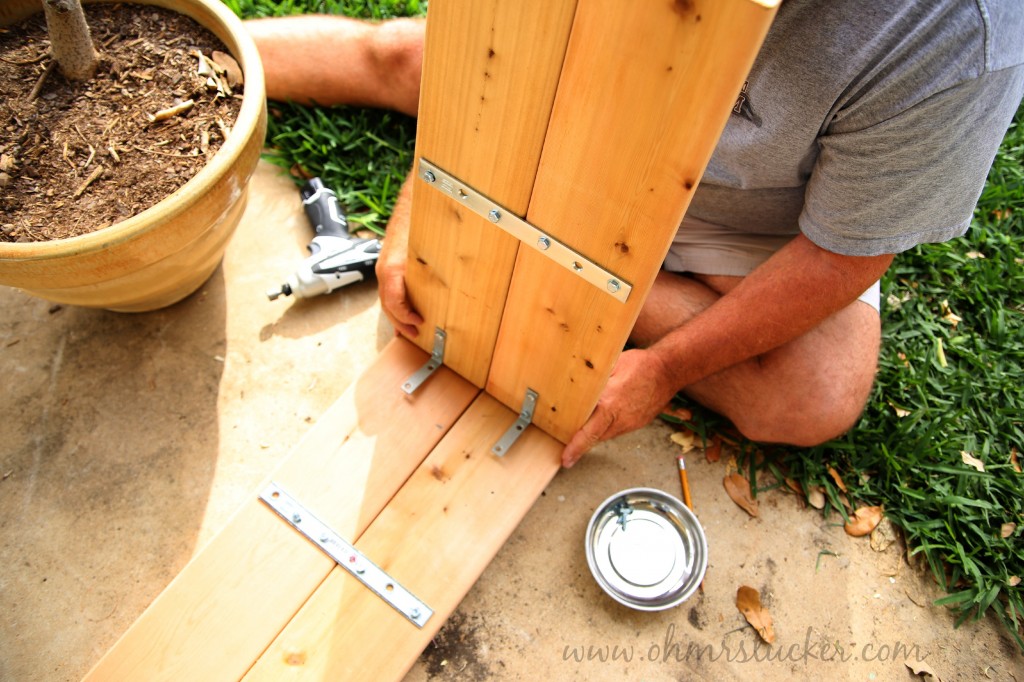
We used screws instead of nails, just in case we ever need to disassemble. Oh, hello, Magnetic Bowl!

Husband rocking the oh so fun to use Makita Impact Drill.

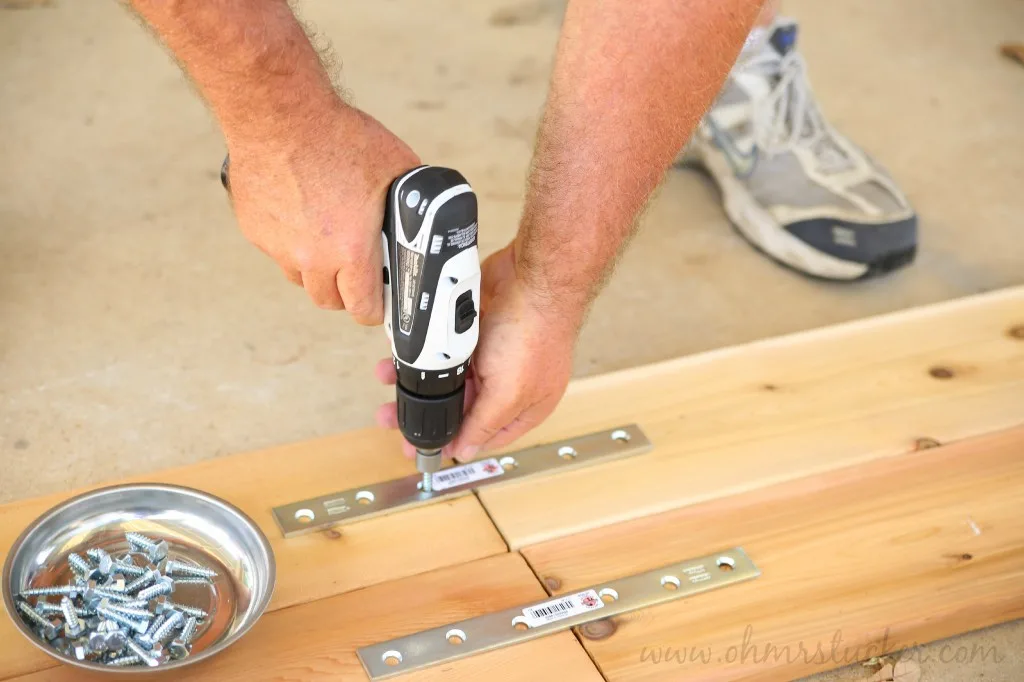
OMT’s! turn. The impact drill is a loud SOB when it’s locking down screws:

Beautiful. As you can see, the mending braces do not have to be perfectly level when you attach them.

Two side pieces put together, two up.

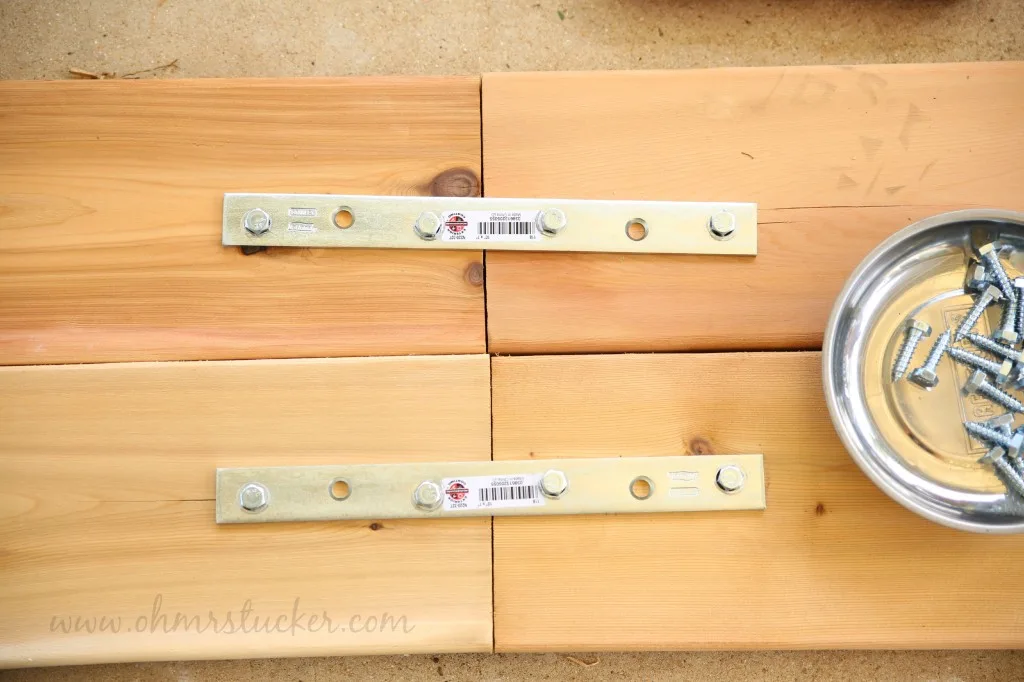
Now to attach the braces to the shorter sides, so we can then attach the longer sides of the front pieces. Here are the braces we used:

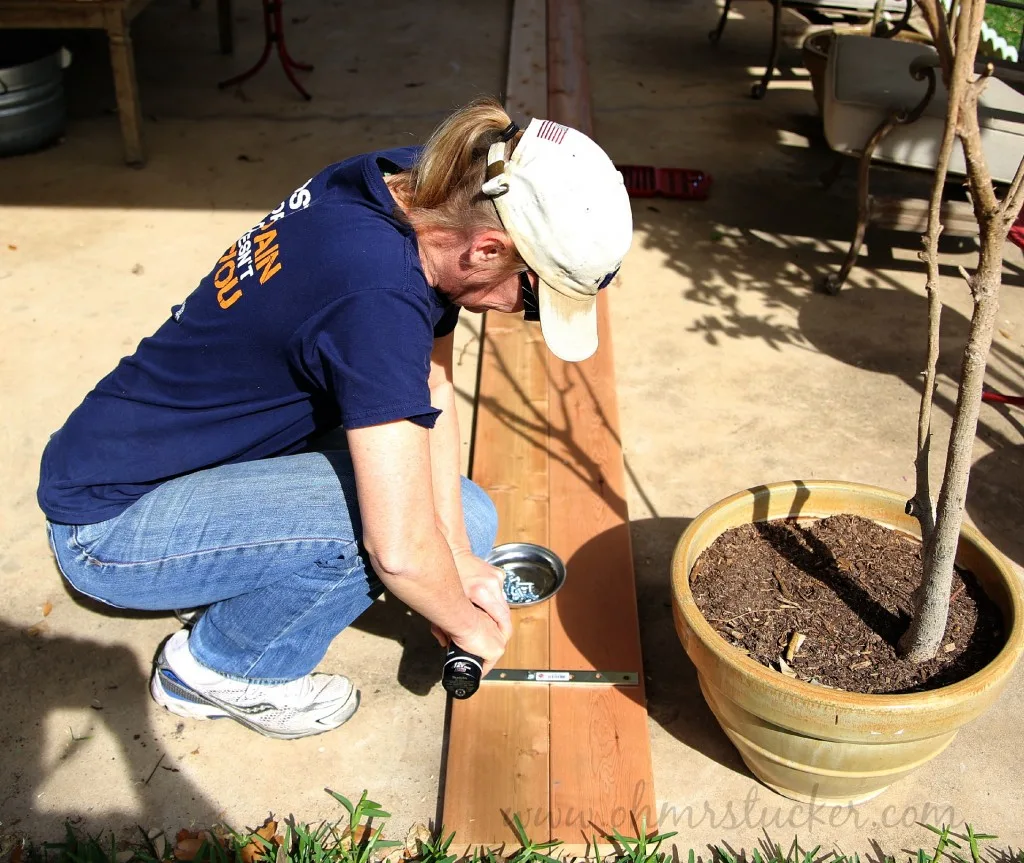
With the front of the bed (the long sides) laying flat on the patio, we fit the shorter side pieces vertically onto them so we could measure where we wanted the braces to go and marked those spots with a pencil.
So much advanced technology here!
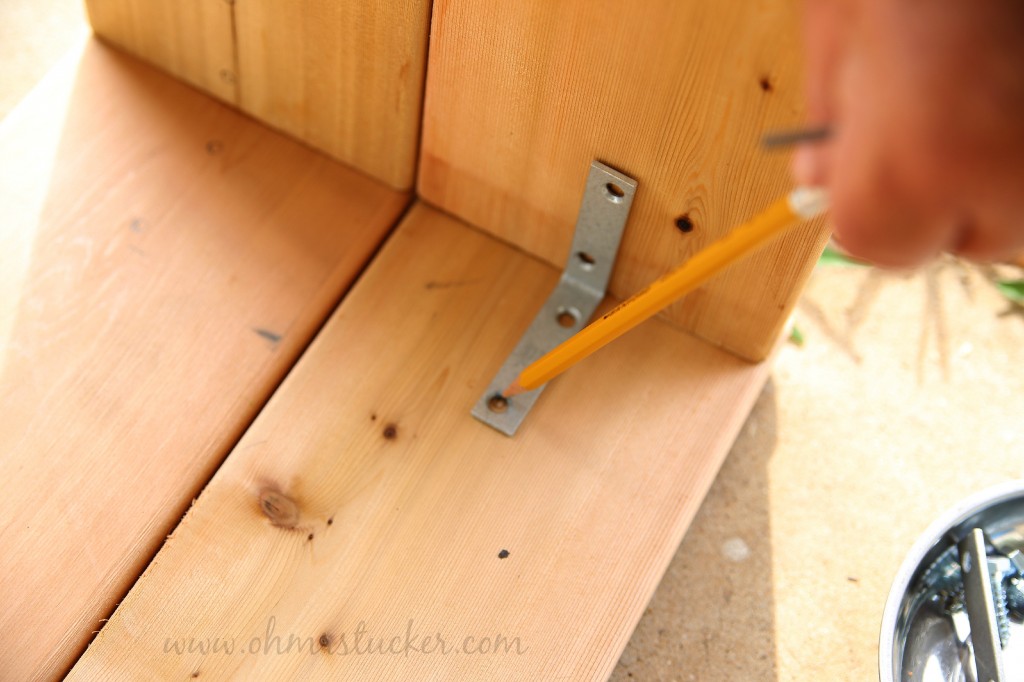

Marked and approved!
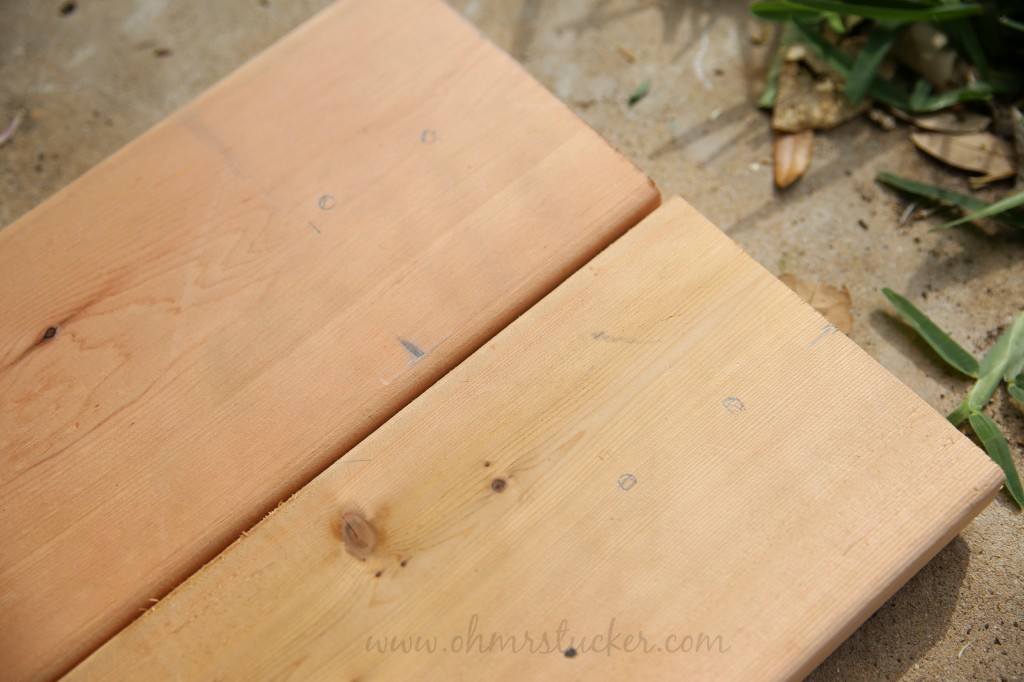
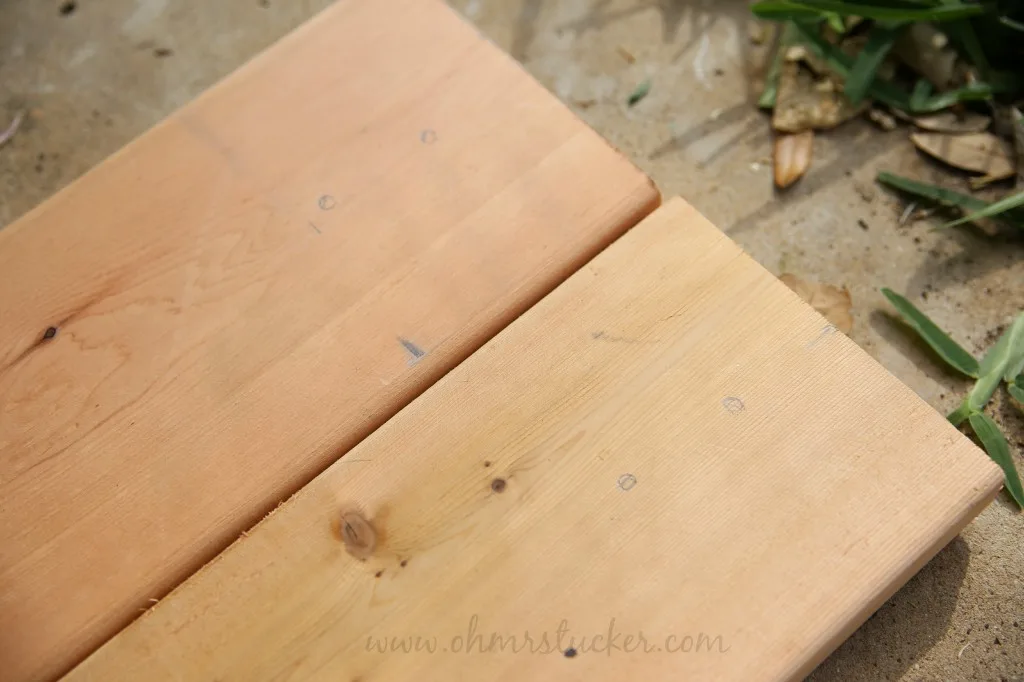
Then pulled the front pieces upright to check our work again.

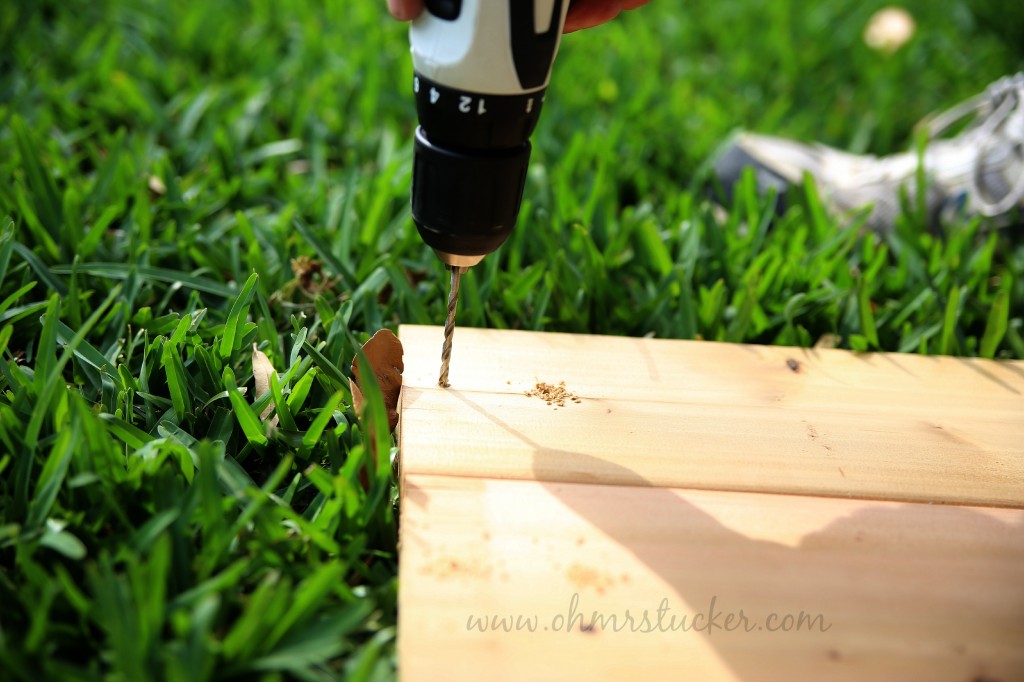
Husband decided that we should start our screw holes with a pre-drilled hole (technically called a pilot hole) to make things easier.

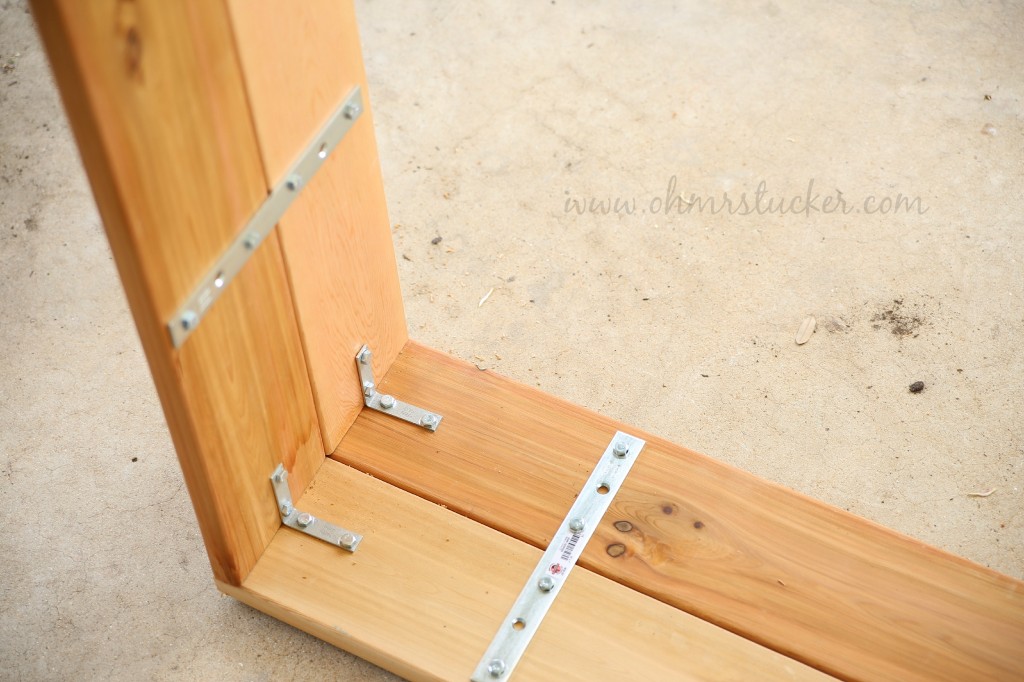
Then to start attaching the braces. We laid the short side flat, attached one side of the brace, so that we could then attach that side by screwing in the other side of the brace to the longer front pieces, while it was laid out flat.
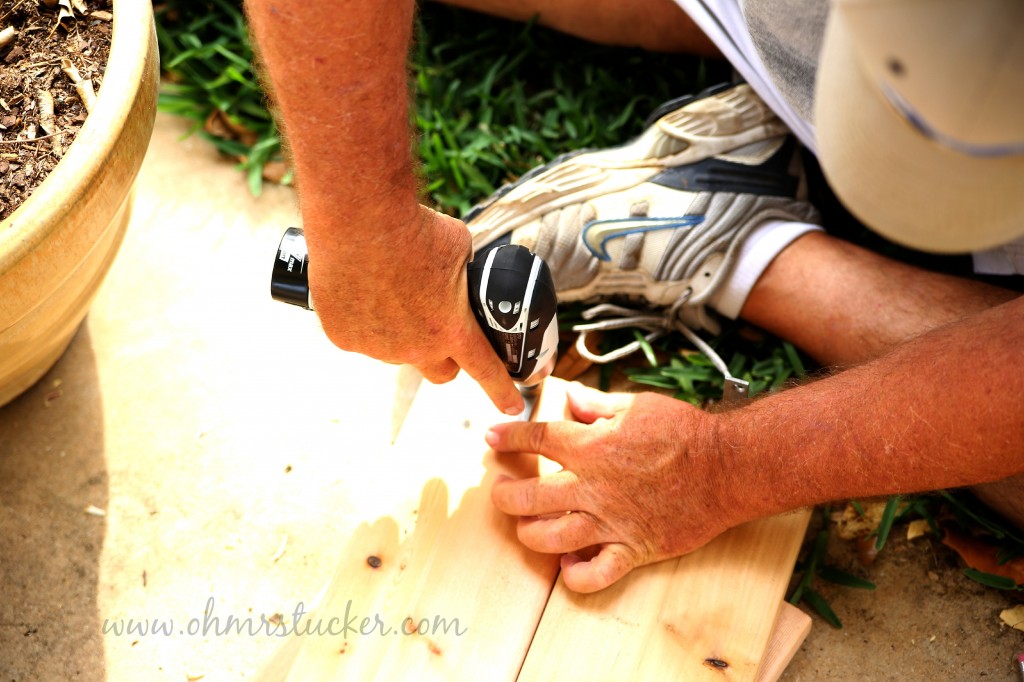
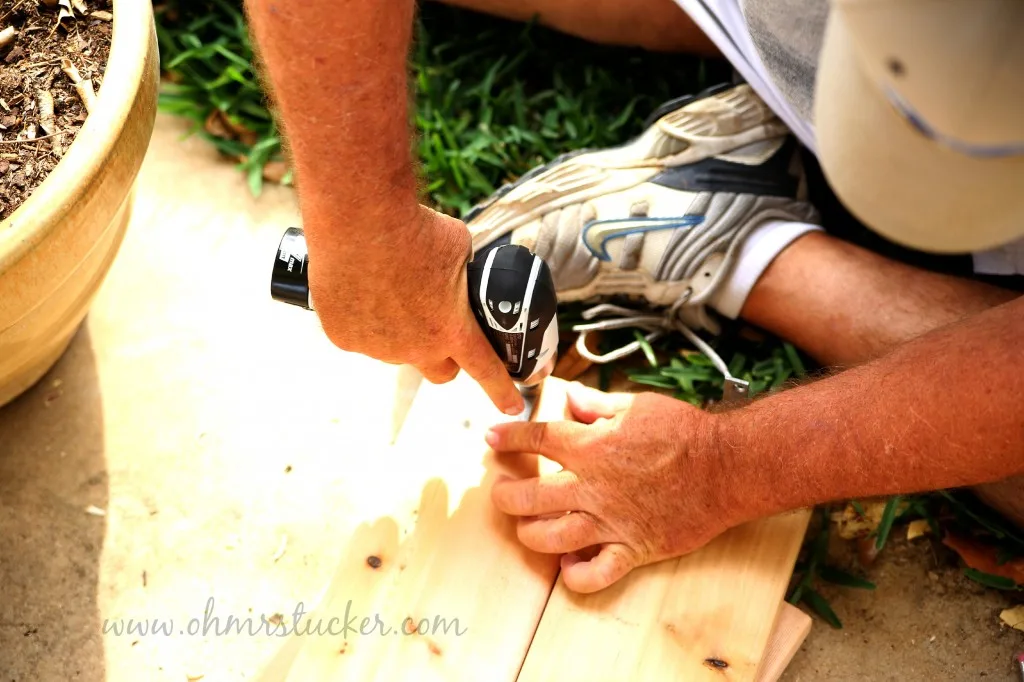
Can you tell by this pic that this is where we start to screw in the final screws? The brace is attached to the side pieces and is now going to be attached to the front.

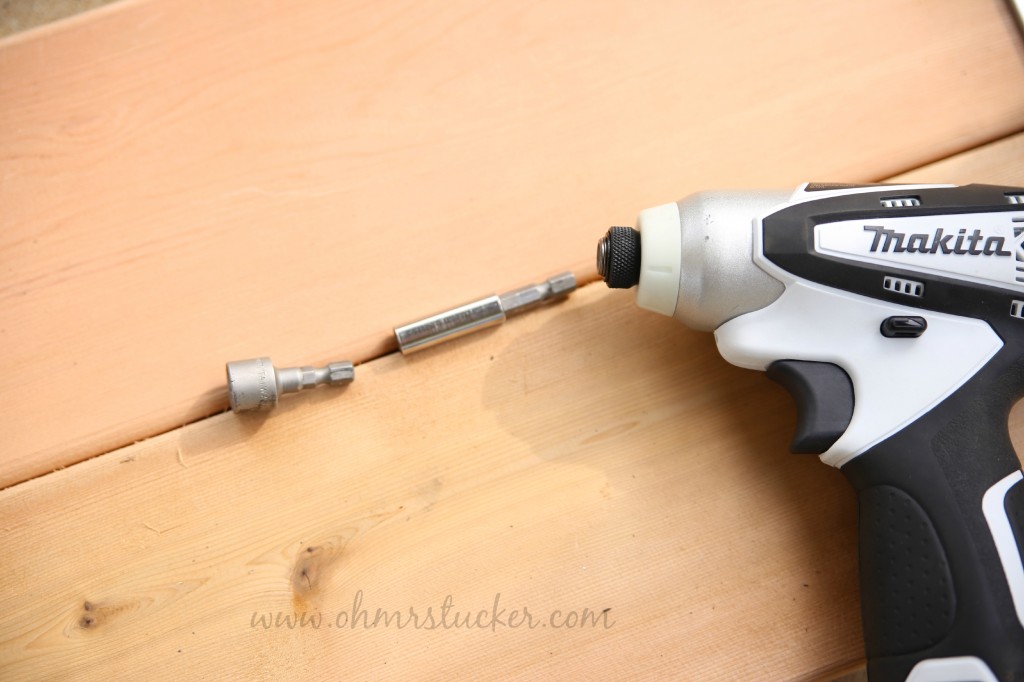
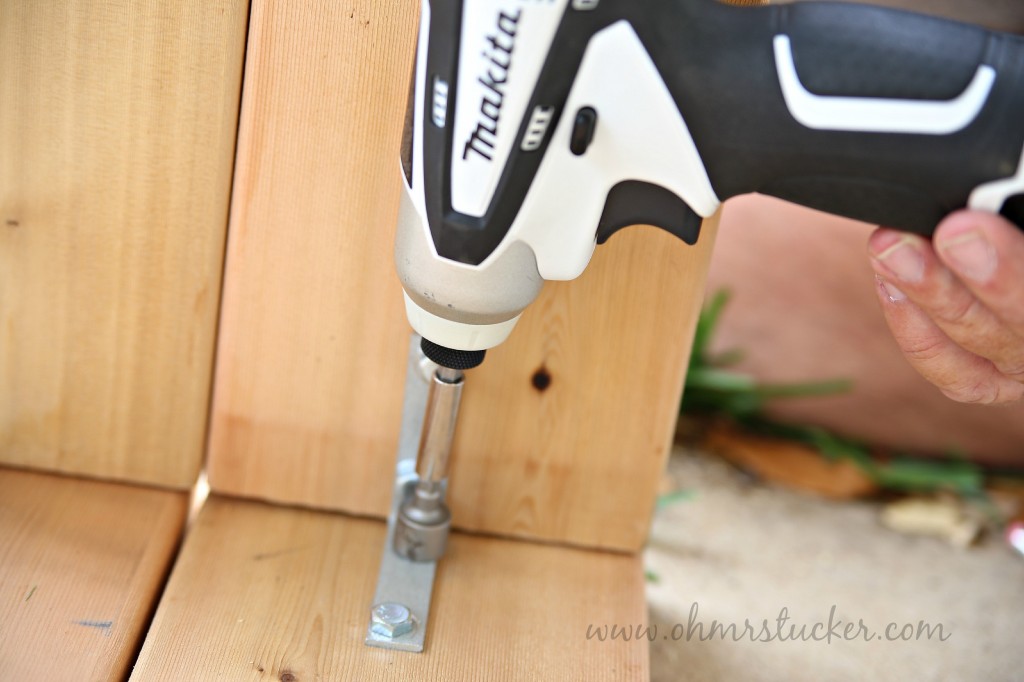
Because one of the screw placements was a close fit, right next to a corner, we fit our impact drill with an extension to reach.
POWER TOOLS ROCK!

The hard to reach hole has been reached. Take that tight fit!

Finished attachment:

After the sides were attached, we stood up and did a semi-happy dance (it’s never full on happy till the job is done).
The only thing left was to walk it over to the garden spot. It’s when we lifted it that we realized the 16′ long ass bed was too unstable and was bowing. We needed something.
MacGyver!
Husband went back for the metal he hammered out for the cedar bed and cut two more pieces. Once he hammered them fairly flat, we attached them to strengthen the stability of our bed.


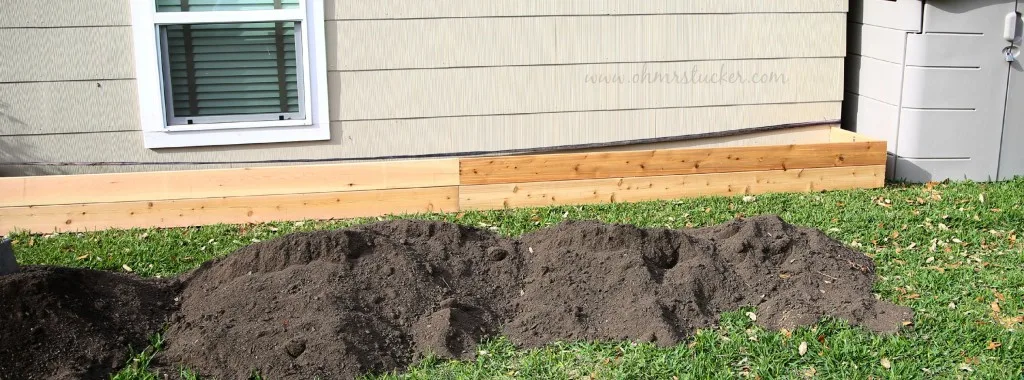
Here’s a long shot of the completed bed, ready to go:

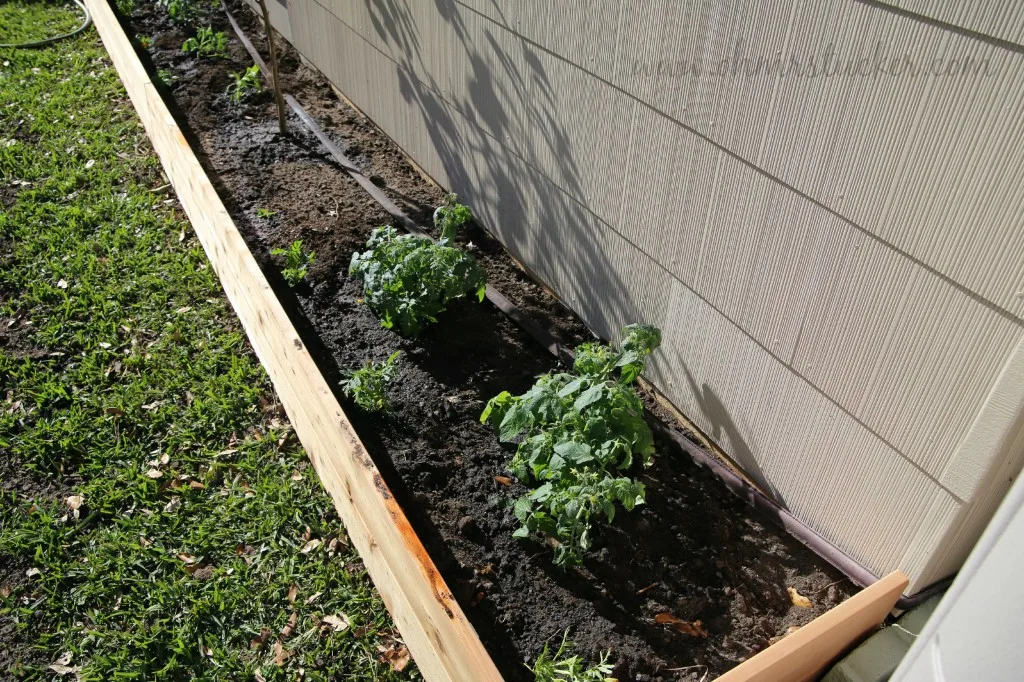
We tried picking the 16′ long bed up….SUCCESS! This time we easily walked it over and laid it in place (that’s the garden dirt to use as fill):

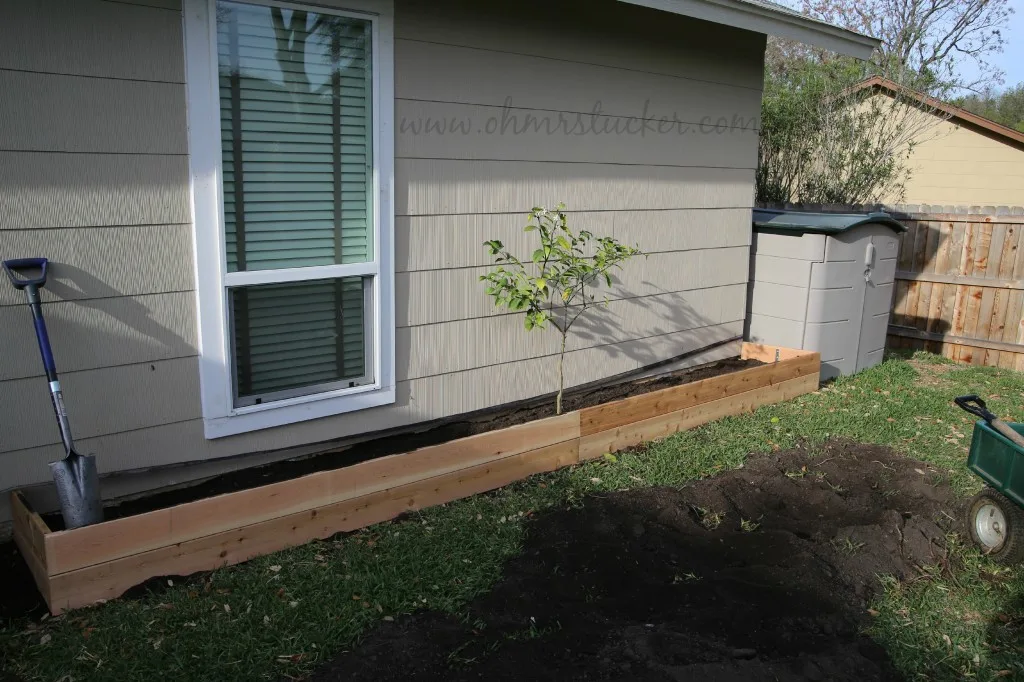
I love the look (and smell) of those cedar planks. It turned out just as I had hoped.
We christened the bed with a Meyer lemon tree, that we have since decided to move to the next (!) 16′ raised bed we plan on building parallel to this one.

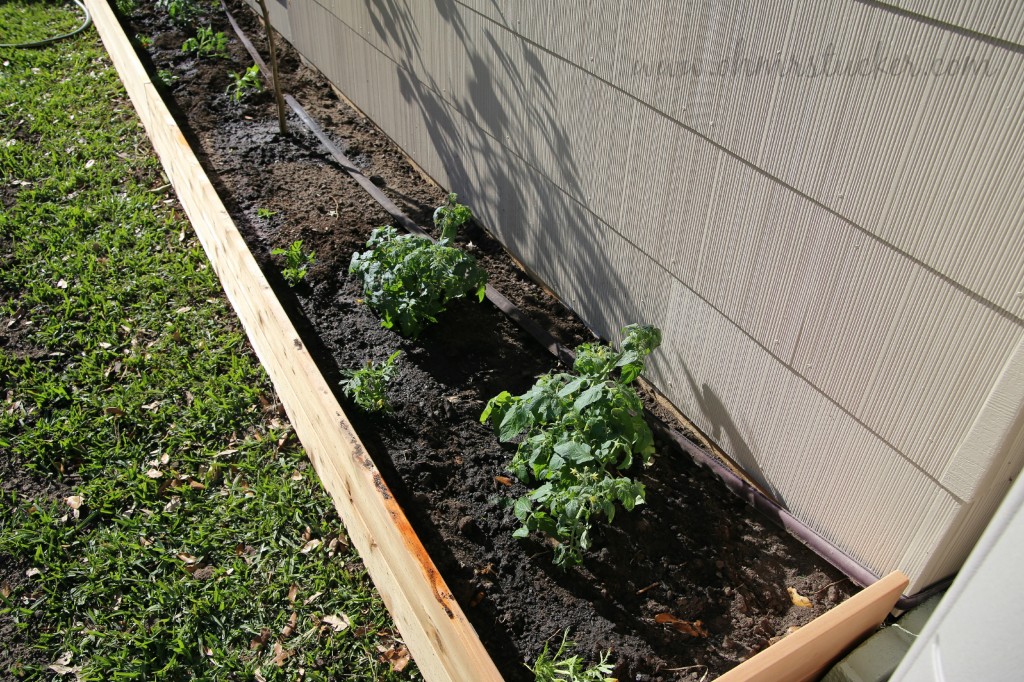
Tomatoes!
[Tweet “How are we to grow our own yard-to-table tomatoes with limited space? We get creative, that’s how.”]
I hope this inspires you to build a bed or to use an impact drill (so fun!), cause gosh darn it, you deserve the satisfaction of imperfect perfection.
As you can see, we had no plans, we winged most of this and even had a MacGyver moment, but it worked.
My point to showing you how we built our bed is to prove you don’t have to be an engineer or have the perfect plans or even know most of what you’re doing; you simply need start. I’m thinking you’re smart enough to trouble shoot and earn your MacGyver badge of honor. I mean, why do you think duct tape was invented?!
If Husband and I can do it, I’m willing to bet you can too.
For those of you counting: this makes two successful projects Husband and I have worked on together.
I’m thinking it may be time to retire the hardhats!
Oh, the pic I didn’t post because it didn’t get taken was of me and Husband spread out on our backs in the yard drinking a well-deserved ice-cold beer after the last of the dirt had been shoveled into place.
Come on tomatoes, keep your finger to yourself!
~Updated pic of garden as of 5-8-14~

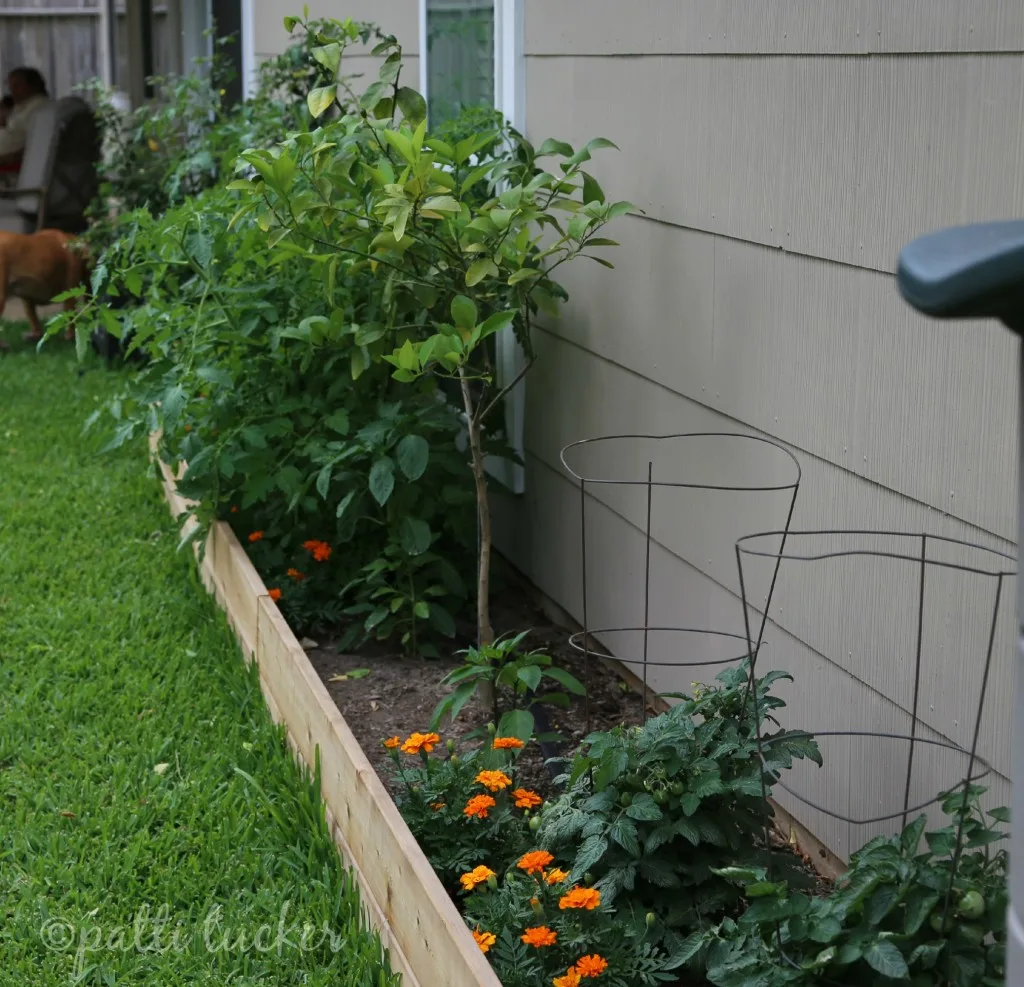
It’s official: the tomatoes love their new home!
UPDATE 2018: The bed is still holding its own. It’s sturdy and has been the home of many delicious tomatoes and peppers. Cedar planks for the win!
Happy Building!
Karren Haller
Sunday 29th of July 2018
Thank you for sharing your new garden boxes on Friday Features this week, they are so nice for keeping plants contained. My son has built so many garden boxes for lots of people including me, I have 5 in different sizes placed around my backyard. Hope to see you again next week! Have a great week!