No, that headline is NOT a mistake.
I gots skillz, y’all!
OMT! does, and has, cut copper tubing (plumbing stuff, yo).
You can too! Don’t be afraid!
Because I don’t want y’all to be like us – meaning having to block out five hours to do a 30-minute job – this tutorial should come in handy.
I wanna share my experience of how to cut a copper pipe.


As is my habit, I have a ridiculous story to regale with you before we get to the nuts and bolts (or flexi-pipes and turn-off valves) of thangs.
~ A gentle reminder: OMT! uses Amazon referral links. ~
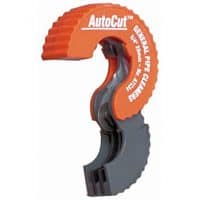
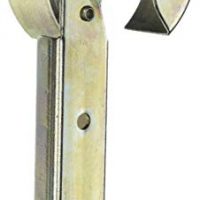
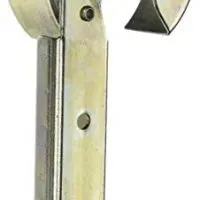
If you need to cut a copper pipe, you’re gonna need the right tool for the job.
We used the Autocut copper pipe cutter.
Never heard of it?
Yeah, us either until we were in dire straights and needed a tool that could get us out of a jam.
Mmmm, jam.
Kind of like a Scooby Doo plumbing jam.
Zoinks!
The right tool for the job makes all the difference. I highly recommend this one.
We LOVED it, mostly because after five hours of trying get that dang-blasted copper pipe cut, the Autocut made us look like pros.
If you had seen us trying to get that close-to-the-wall pipe cut…oy…the jokes!
AutoCut Copper Tubing Cutter
I’m going to say here that there are loads of pipe cutters, tube cutters, on the market that will probably do a great job.
This one happened to be the BEST copper pipe cutter for us and our situation.
To the details!
(source: AMAZON)
Product Deets:
~ Auto cut Tubing Cutter 1/2 In
~ General Wire Spring
~ ATC-12
~ For 1/2-Inch copper pipe
~ Ratchet turning handle RH12 optional
~ Hardened steel cutting wheels
~ Ideal for stub-out work
~ Spring loaded cutting wheel
Product Description
Great for tight spaces – cuts copper tubing with less than one inch of clearance.
Quicker than conventional tubing cutters.
Cutter wheel automatically tightens – no knobs to turn.
Ratchet handle available for extra turning leverage (order separately)
From the Manufacturer
This is a great tool to have when you don’t have enough swing room to use a full size tubing cutter.
You can cut copper tubing with less than one inch of clearance.
It’s ideal for stub-out work and it’s quicker than conventional cutters.
Just snap it on the tube, close the gate and turn in either direction. T
he cutter wheel automatically tightens as you turn the AutoCut- no knobs to twist.
The cutter wheel is spring loaded to provide a constant cutting pressure, so you’ll never accidentally crimp the tubing.
Catch that last sentence?
Yeah, you really want to avoid a crimp in your copper pipe.
Heh-heh. I gots the jokes all day long.
I offer this advice, well, um, we put a crimp in the first pipe we were working with, which actually led us in need of a pipe cutter.
LAWSY, PEOPLE!
If ever there was a time for grandma to drink!
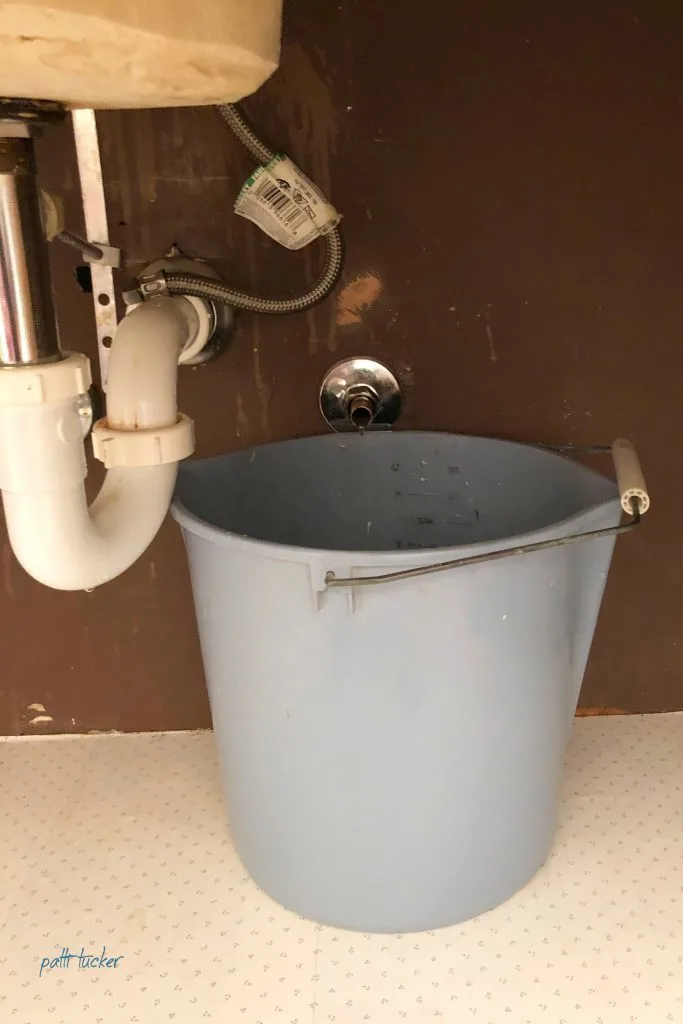
I present our DIY project of changing out a bathroom faucet, as I like to call it: How we ended up under a sink for over five hours.
The next couple of pics are not the best in quality (quickly taken on my phone to show to anyone who could help us at Home Depot or online), but I wanted to show you the tight space where we were cutting copper tubing.
The funny thing about this project is that it’s supposed to be one of the simplest household projects to attack – especially if you’re new to doing it yerself.
The kind of project that builds confidence for the next one, the harder one.
I mean, every YouTube video on this project made it sound like we would be in and out in under an hour.
LIES!
As the show Big Brother likes to say: expect the unexpected…and I’ll add: whenevr you are doing a home improvement project.
A bit of backstory: Before we simply replaced a bathroom faucet, and easy 30-minute job, Garry suggested we rework the plumbing under the sink.
It was a job that needed doing and no time like the present, right? (I laughed maniacally in my head as I wrote this.)
If you are new to the DIY club, you should take note of this truism: nothing rarely goes as planned.
Just like the show Big Brother advises, you should prepare for the unexpected.
I will add: whenever you are attempting a home improvement project.
Step by Step Instructions for eventually needing a copper pipe cutter:
Get ready to roll yer eyes. Pointing and laughing, optional (but highly recommended).
#1: We started by shutting off the water at the main, outside.
The reason we didn’t use the under-sink water cut-off was because we didn’t want any surprises.
This was the easiest part of the job.
Turn a knob. Done.
NAILED IT!
#2: Disconnect bendy aluminum looking flexible hosey things from the pipe underneath the sink.
Are y’all stunned at my ability to use proper DIY lingo?
My handle on all things ridic make for some very entertaining (to me, not so much Garry) moments.
Again – easy!
We were killin’ it!
#3: Take off compression fitting.
Here is where thangs went South (and a little naughty sounding).
According to ALL the videos we watched, ya just pull the sucker off, like a tab on a a beer from the 70s.
We tugged.
We pulled.
We cussed.
Hell, we taught cussing how to cuss under that sink.
We discussed WHY WON’T IT COME OFF?! to infinity and back.
The compression fitting wasn’t budging.
#4: Off to Home Depot we went.
We bought a compression fitting puller (so. many. jokes.), to pull off dat fitting.
We left filled with hope and newly confident in our abilities to finish the job quickly.
Of course! Hahahaha, we just needed a puller thingy!
Nope. Not gonna happen.
No matter how many times we looked at the packaging, or reread the instructions to each other, the puller refused to pull off the fitting.
I think it gave us the finger. Then, pointed and laughed. Finally, an eye roll.
NEWBS!
NOTE: when you watch YouTube videos and they’re all like: this will be an easy and fast job – anyone can do it! Take what they’re preachin’ with a grain of salt.
Maybe…maybe not.
At one point, I was actually talking smack to the folks in the videos: LIAR!
It took us the better part of an evening to figure out we needed the big guns.
Went back to Home Depot and bought another sleeve puller-offer tool we never knew we needed.
SUCCESS!
And then…

When the compression fitting FINALLY came off, we realized we had ruined the copper tube for the new nut.
I won’t tell you how long it took us to realize that we had ruined the copper. (soooo long)
I won’t tell you how many times we tried to convince ourselves it was working. (it’s worki….d’oh!)
I won’t tell you how many times I said, “I HATE DIY PROJECTS!” (I don’t – I DO!)
Lawsy.
I mentioned that the water main was shut-off, right?
It was now late in the evening and we had no water and a non-workable pipe.
Fun Fact: In the middle of running to Home Depot during this time, we also made a run to the grocery store to buy several gallon jugs of water.
Were we that thirsty?
Nope, just needing something to flush the toilets.
A gal’s got to pee y’all.
Not poop though. Nope, we don’t do that.
EWWWWW! and HAHAHAHAHAHA!
Expect the unexpected, indeed, my fellow DIYers.
Why would you need to cut a copper pipe?
There’s a lot of copper pipe jutting out of the wall.
Why cut it?
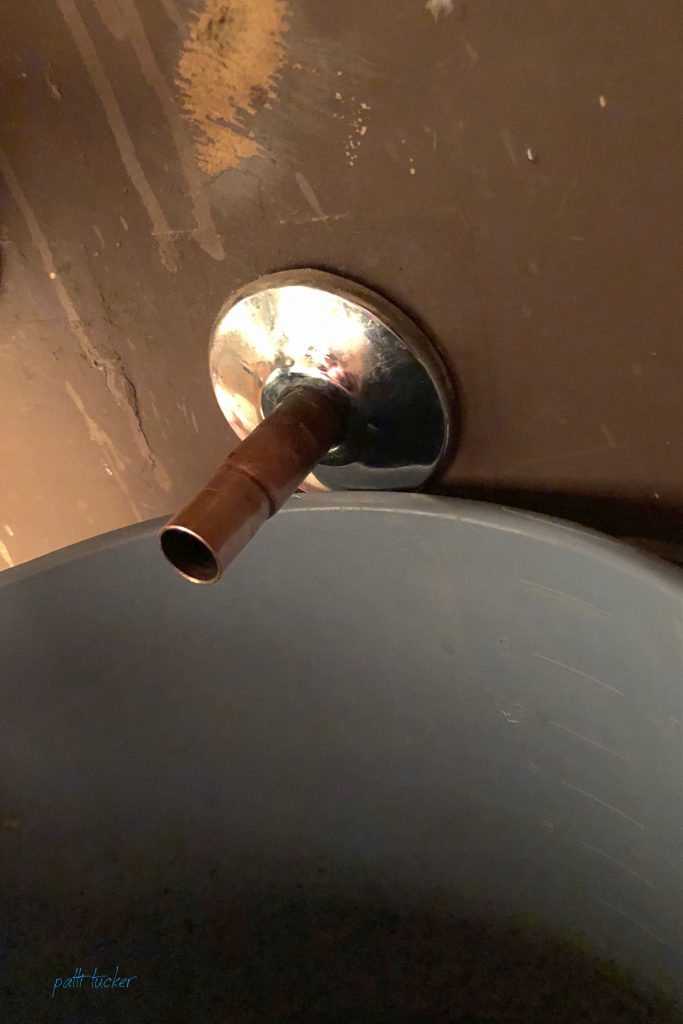
Take a close look. See that indention?
Yeah, not supposed to be there; that there was our problemo.
The pipe is supposed to be uniformly round in diameter with no indentions or weirdo looking bulges.
Took us another hour to figure that out.
What the heck had happened?
We had twisted and tugged so mightily on the original compression fitting, it left us with a portion of unusable pipe.
We laughed when we realized it, but not the kinda laugh that makes you all warm inside. No sir. It was the kinda laugh that is one haha from a full on ugly cry.
Try as we might, the new nut wouldn’t tighten down.
It would go on, but had nothing but crimped pipe underneath, which was useless for our needs.
I spent the next hour on a plumbing forum – the kind populated with actual plumbers.
Most suggested we cut the pipe.
Um, with what?
Me: Can I use my serrated birthday cake cutter for this, fellas?! I swear it’s really really sharp.
Them: NOOOO!
I love that some of them took me seriously.
CALM DOWN, Y’ALL!
Some suggested we hire a plumber. Negatory, Ghost Riders. Not happening. We were determined to fix this beast ourselves.
After all, YouTube was assuring us WE CAN!
Why, at this point, we still believed them, was sheer Texas grit.
More research ensued.
As I searched the Net, I came across the Autocut copper pipe cutting tool.
It sounded so perfect, I thought it might not work.
You know, the whole if it sounds too good to be true, it probably isn’t axiom.
~snort~
To hell with it!
Sometimes the easiest solution IS the solution (but not often enough in my experience).
My dearly departed father-in-law would remind me of this often.
We measured the diameter of the pipe and made another trip to Home Depot.
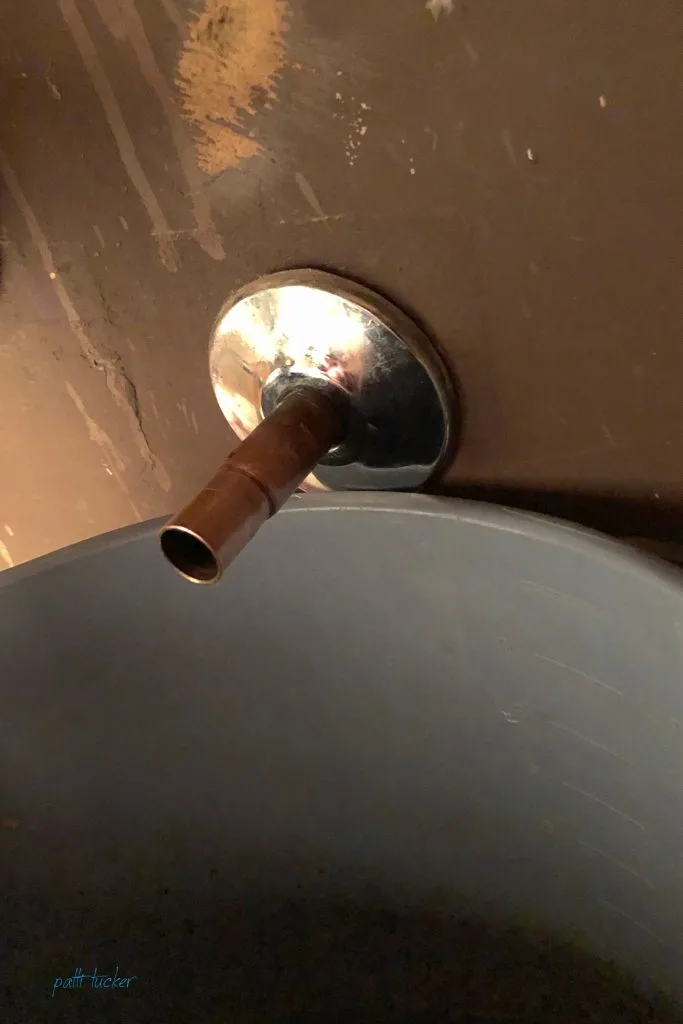
Here’s an upclose shot of where we needed to cut:


Two things made our decision to cut the pipe less scary:
#1: THANK GOD the original plumber left about three inches of pipe jutting out from the wall for us to work with.
#2: It was a tight and awkward space to cut a pipe. I’m the smaller of the two of us and even I don’t fit under that sink.
We crossed our fingers and jumped in.
Here’s how we did it (I have included a handy printable card below!):
~ Measure your copper tubing and use correct cutter size. (ours was 1/2″ across)
~ Access how much of the tube you need to cut. (we took off about 1/2″)
~ Measure and mark copper pipe. (handy dandy sharpie, baby!)
~ Open gate on AutoCut tool (NEVER PLACE YOUR FINGERS IN THE CUTTER!) and snap tool over tubing.
~ The urge to stick your finger in the hole is weirdly strong, so Ill say it again: NEVER PLACE YOUR FINGERS IN THE CUTTER!
~ Close gate and rotate until the cut is complete. (this part was a breeze)
IMPORTANT NOTES On Cutting Copper Pipe:
~ NEVER PLACE YOUR FINGERS IN THE CUTTER! This is worth repeating again and again.
~ Do not try to break off incomplete cut.
~ Works in tight spaces.
~ If you need leverage in a tight space, a ratchet handle can be used (linking for ya in the card below!).
I was thrilled how the cutter handled the job.
It was a quick and easy DIY project once we figured thangs out – you know, like anything when you know what the heckio you’re doing.
SHEESH!
After we cut the pipe, the new ferrule and compression fitting went on with ease; just like the YouTube videos had promised all along.
Finishing the job was exponentially easier from that point on.
We had water by bedtime (only had to use the store-bought water once for flushing, then refilling the toilet tank) and all was well in the world again.
I hope this helps someone attempting to cut a copper pipe, but having no clue how to go about it.
If this is YOU, take note of the plumber’s forum link above – they were lifesavers.
Just remember one important thang, ya risk takers:
STOP putting your finger in the hole.
The AutoCut’s cutter wheel is sharp, yo!
JUST STOP IT!
(source: AMAZON)
The printable instructions, as promised!


How to Cut a Copper Pipe
Need to cut a copper pipe, either in a tight space or not? This tool worked exactly how it was built to work. It was a quick and easy way to cut copper tubing.
Materials
- AutoCut copper tubing cutter
- Ratchet handle - if you're working in a tight space.
Tools
- Copper Tubing Cutter
- Ratchet handle - if needed
Instructions
- Measure the diameter of your copper tubing and use correct cutter size.
- Access how much of the tube you need to cut.
- Measure and mark copper pipe.
- Open gate on AutoCut tool (NEVER PLACE YOUR FINGERS IN THE CUTTER!) and snap tool over tubing.
- Close gate and rotate until the cut is complete.
Notes
- NEVER PLACE YOUR FINGERS IN THE CUTTER! This is worth repeating.
- Do not try to break off incomplete cut.
- Works in tight spaces.
- If you need leverage in a tight space, a ratchet handle can be used (linking for ya!)
Recommended Products
As an Amazon Associate and member of other affiliate programs, I earn from qualifying purchases.

Jenny
Monday 29th of July 2019
Hello- I am so happy to read your site again, I have missed it for a while now and really was worried that you were maybe under the weather, as it turned out, you were under the sink ! Nice to hear from you again. Enjoy.
Patti Tucker
Monday 29th of July 2019
Not under the weather! You can see me almost daily on Instagram or facebook!