
Grilled Corn on the Cob
Last summer I wrote about how stinkin' easy, foolproof really, it is to make grilled corn on the cob. It was such a popular post, I thought I'd do a reprint today. Just in time for prime summer grillin' months!
Let's get to it, shall we?
We shall!
Start with some corn still in the husk.
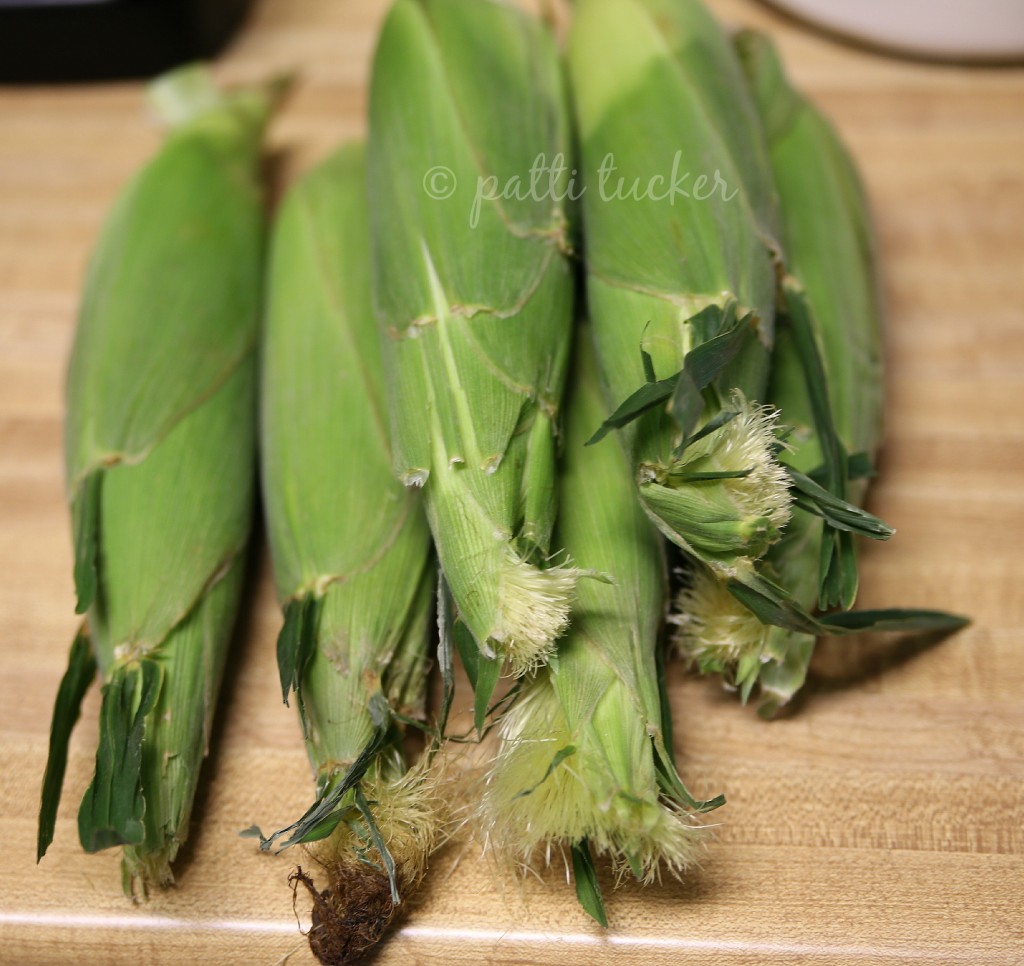
PANTS THE CORN! Pull down the husk, but don't take it all the way off. Just enough to get to the bulk of the silk.
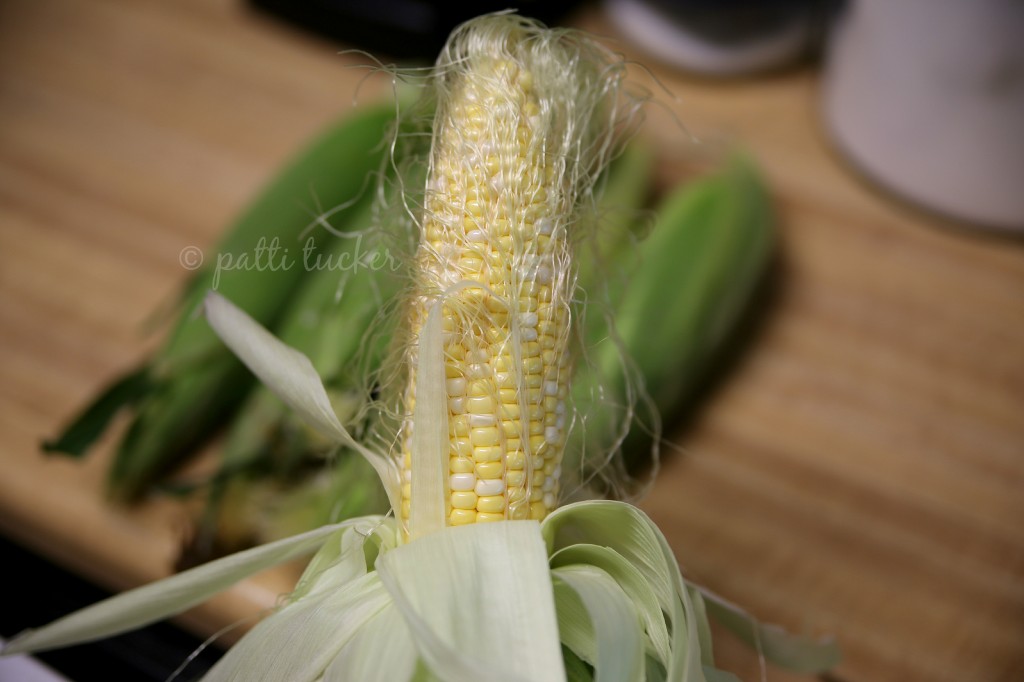
Remove silk. As you can see, it doesn't have to be perfect.
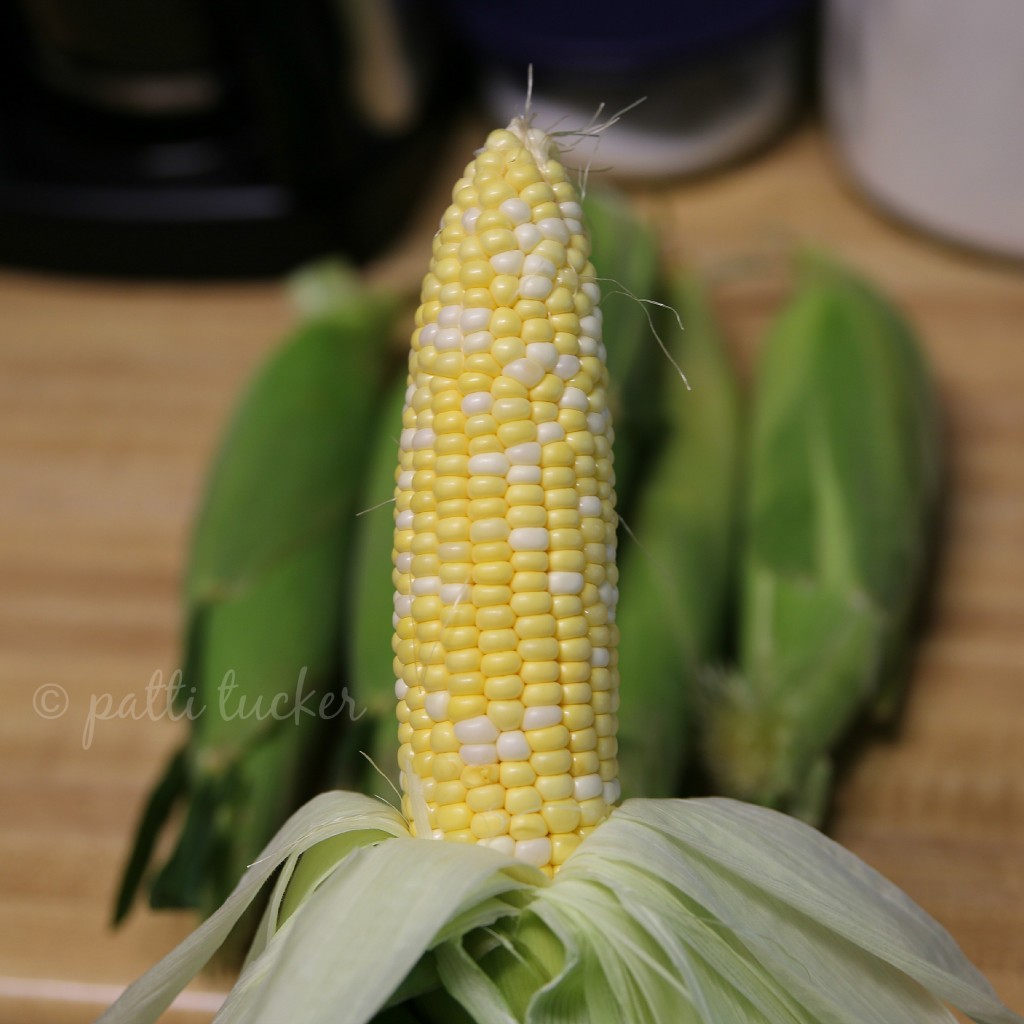
You've had your fun, now apologize and pull up the corn's pants.
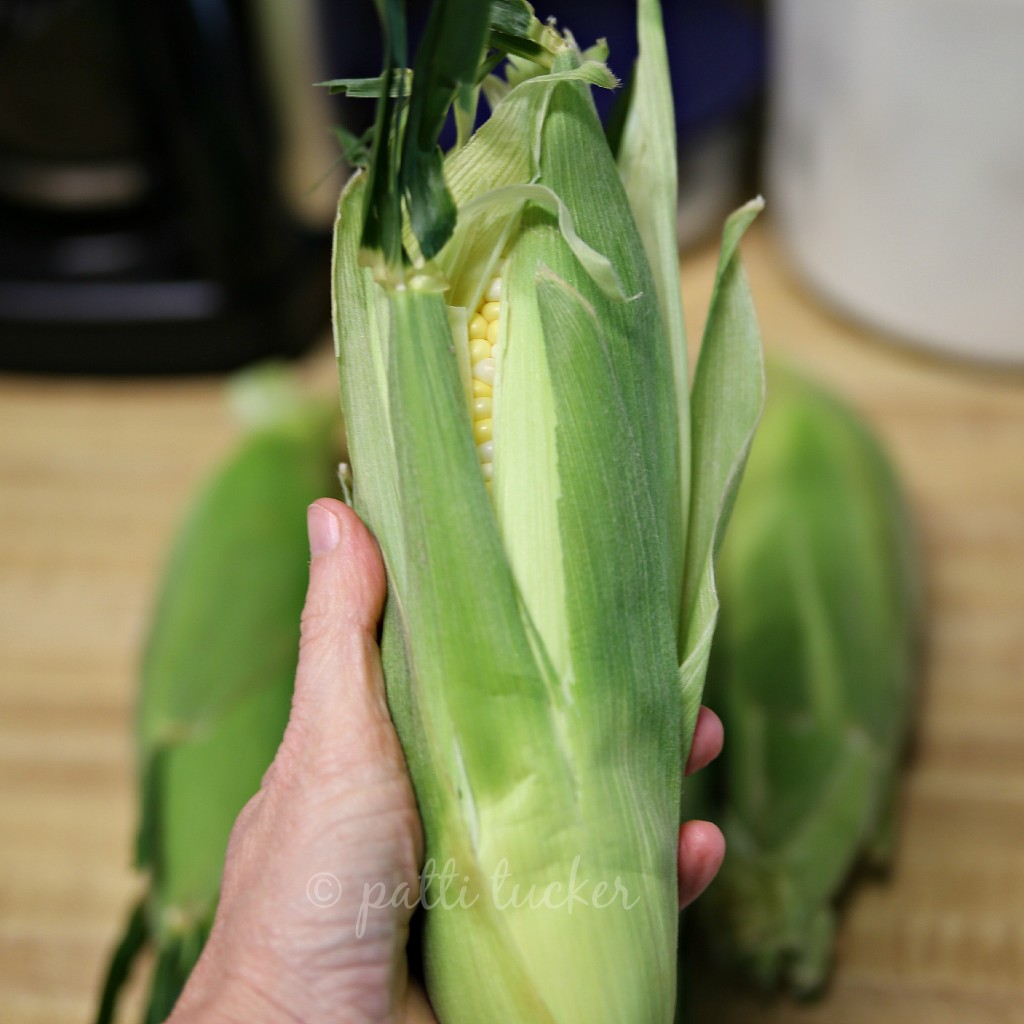
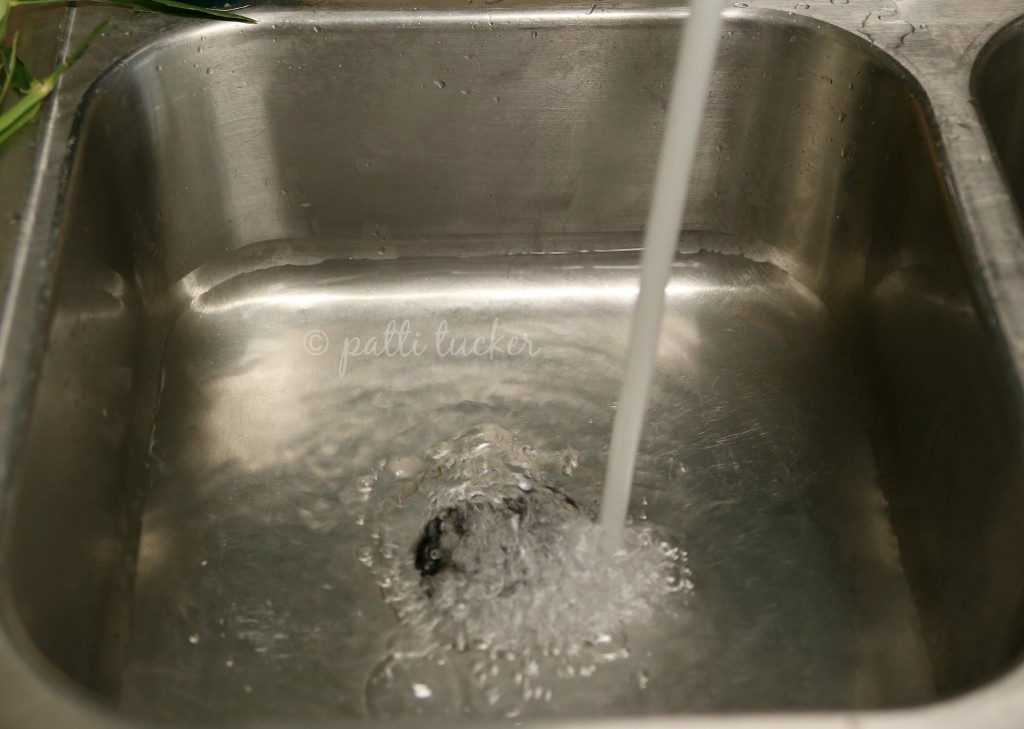
Fill a sink with enough water to submerge the corn.
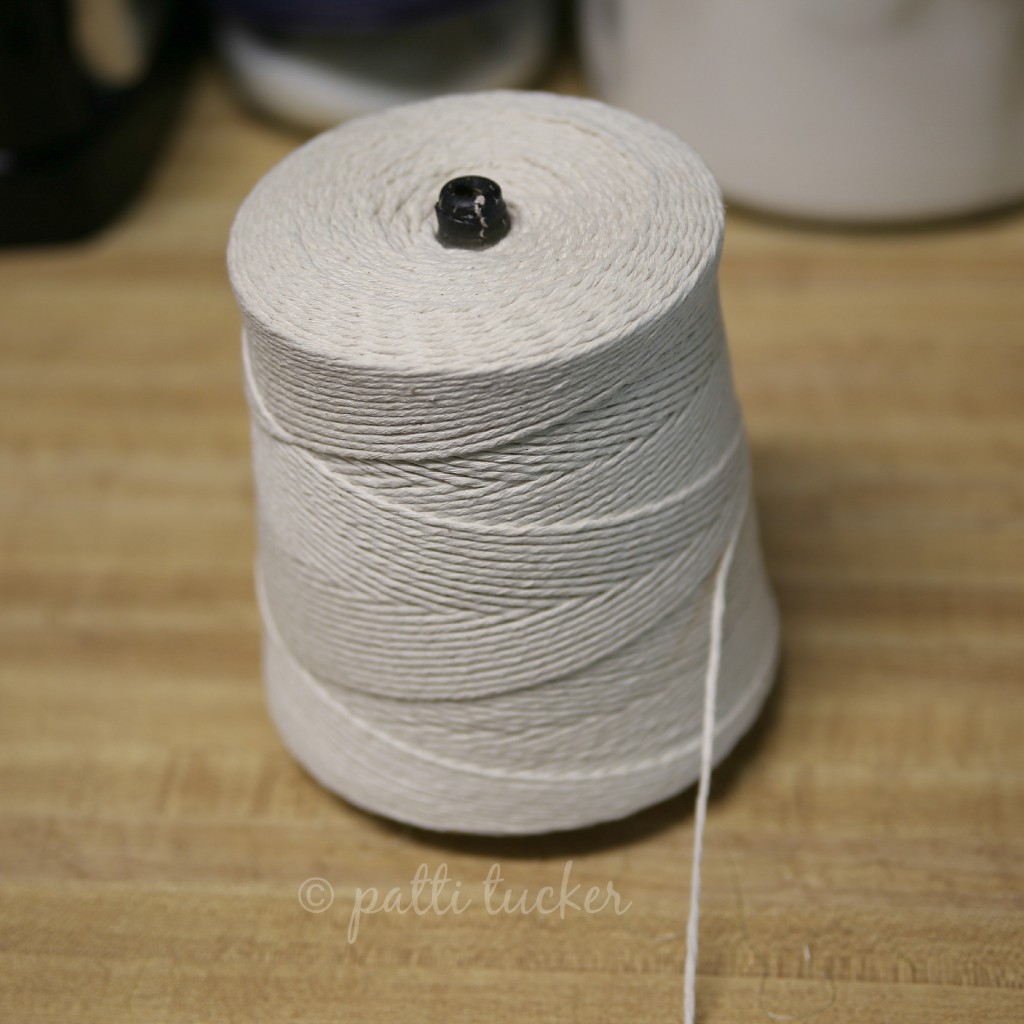
Find your turkey/chicken trussing twine (If you don't have any of this stuff, you should. Comes in handy.) As you can see, I have the giant twine thangy. Like many of my kitchen essentials, I bought this at a restaurant supply store. (or check out this good deal HERE) Inexpensive (compared to anything at William Sonoma) and, in a pinch, I'll always have kite string.
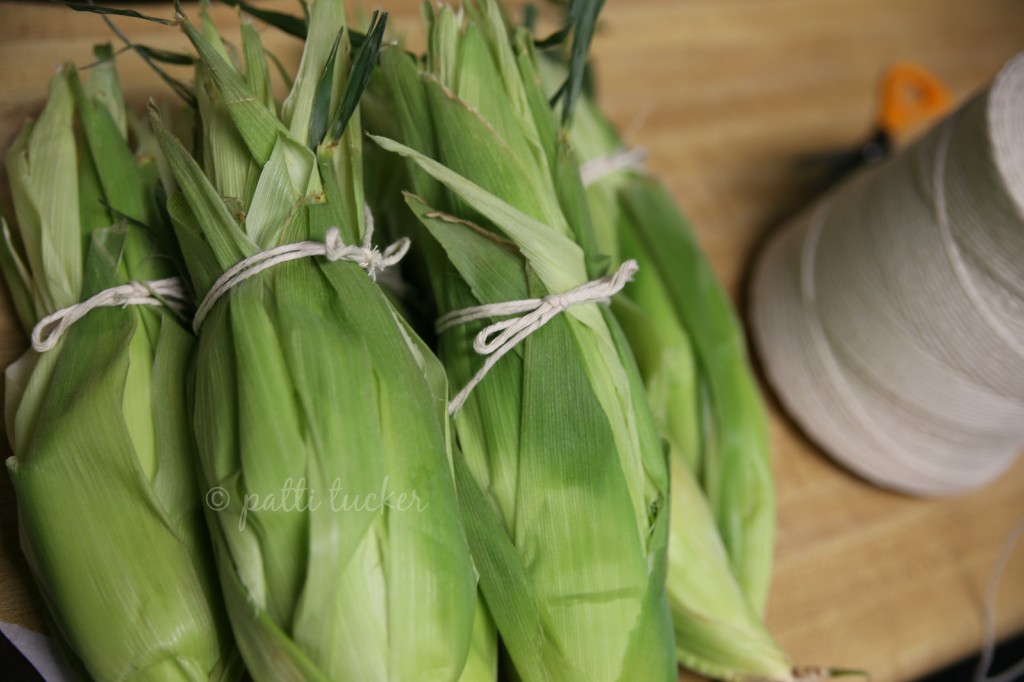
Measure out enough twine to tie up the husks. Add a bow if you're feeling fancy. Just make sure your husks are tight against the corn. This will act as protection against burning.
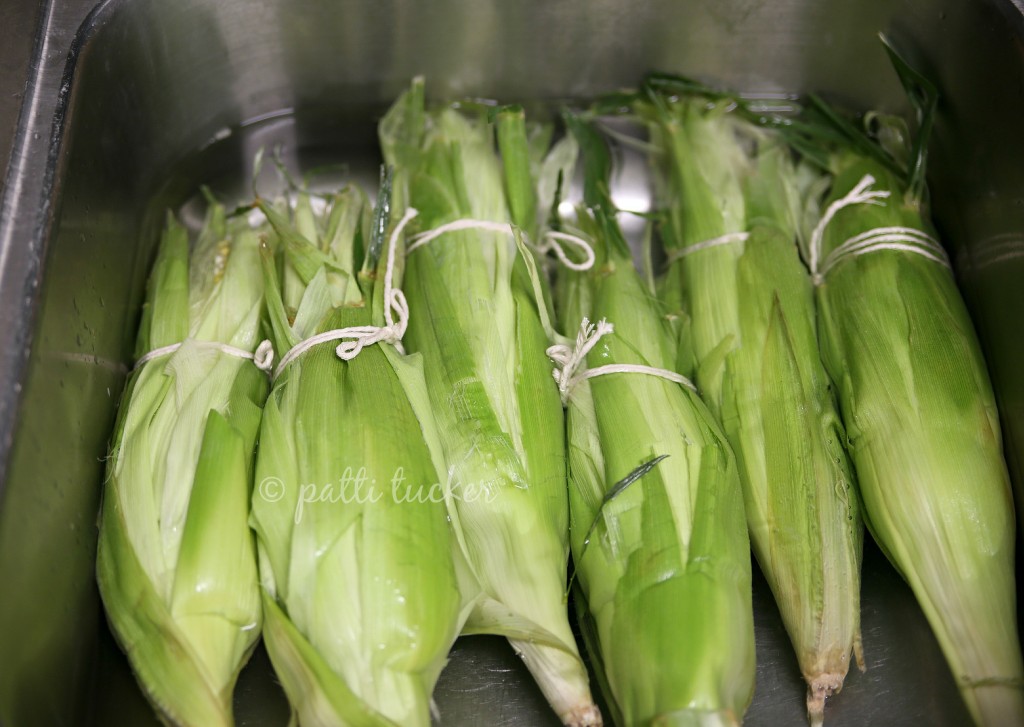
Time for a soak! Summertime is hot, y'all. Everything is better after a swim. Place your wrapped-up corn in the sink with water. If they refuse to sink, place a heavy plate on top of them. Let them soak about 30 minutes before you place on a hot grill. The extra water will help the corn cook more evenly and help the husks protect the corn from drying out
Place the badboys on a hot grill. Husband uses a pit, which means he cooks with wood. He places them the farthest away from the fire box. The pit has a temp. gauge on it and we usually place the corn in a pit registering 350° and cook for approx. 30 minutes. For those of you who have a gas grill, throw them on and check after 30 minutes. Pull back the husk of one of the cobs and see if you can easily poke through a kernel. If so, they're done. If not check every 15 minutes after that until tender.
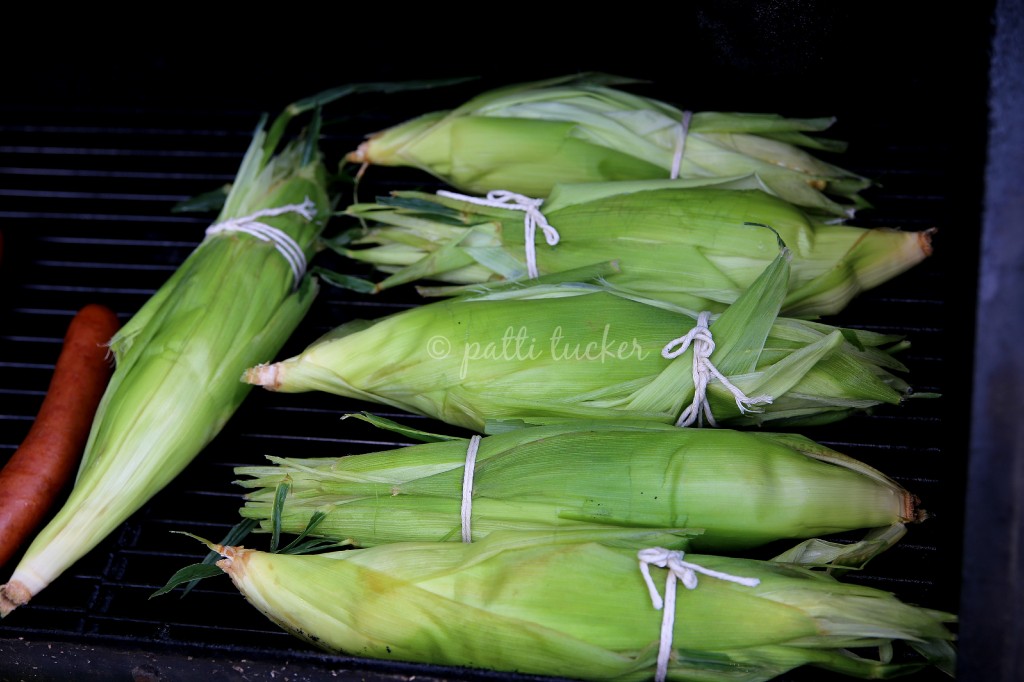
Here you can see that the corn is on the opposite side of the fire. Also, see that pointy nail looking spike above the corn on the lid of the pit? That's the temperature gauge.
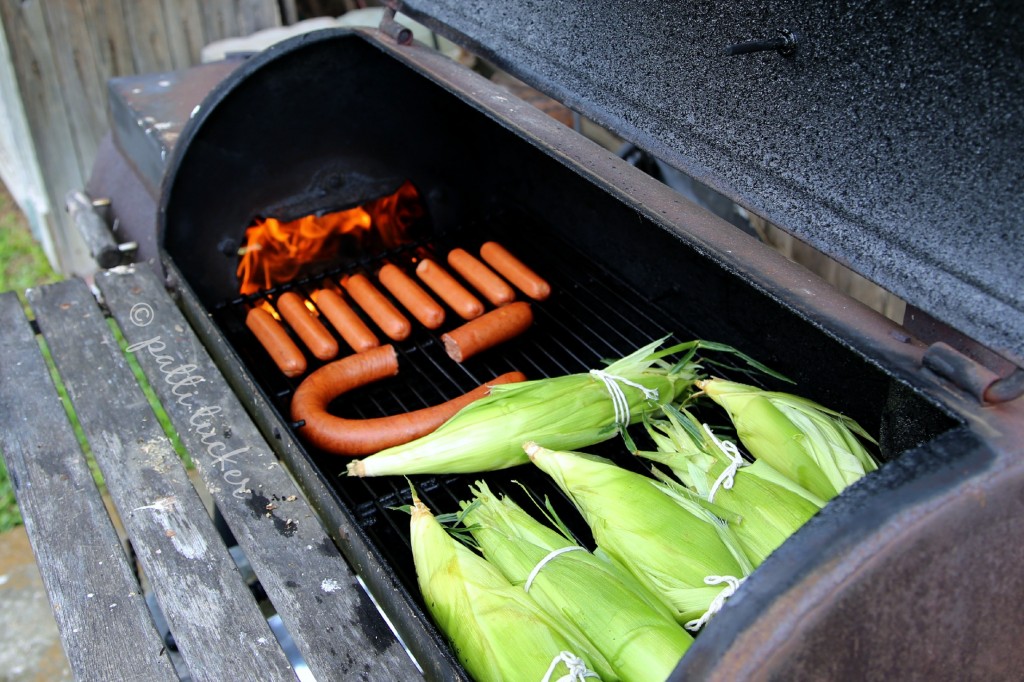
SPIRITUAL ASIDE: I have decided that Heaven has to smell like a wood burning pit when it's loaded with steak, hotdogs, sausage and chicken. Halleluriah!
Here's what the corn will look like on a pit after about 30 minutes. All that glorious smoke, y'all!
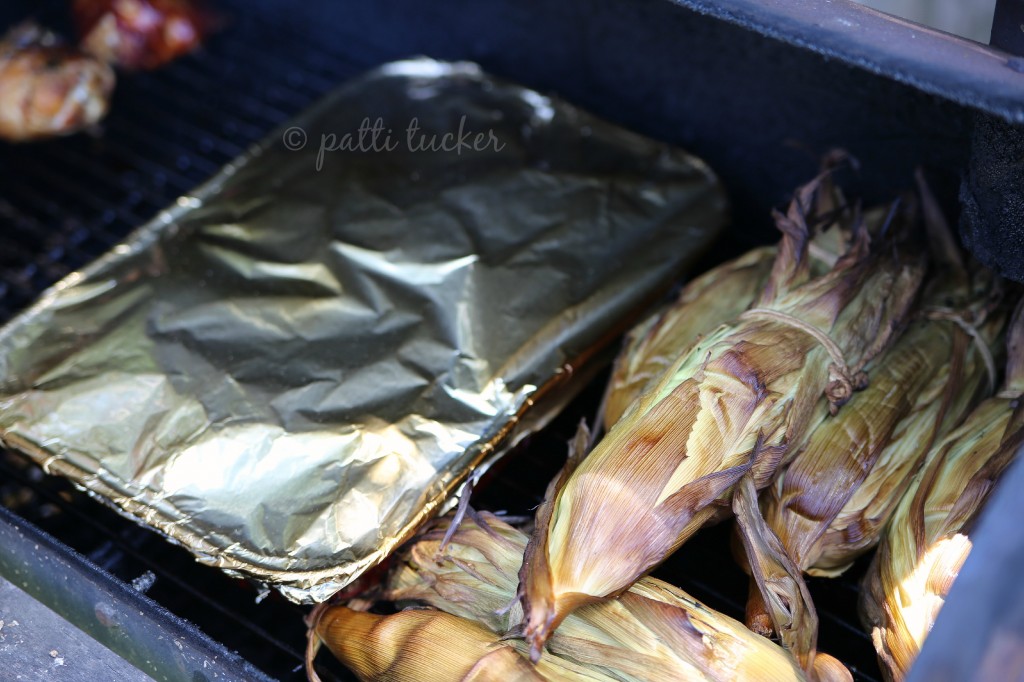
Finished product. Note that the twine held. I love when things do their job.
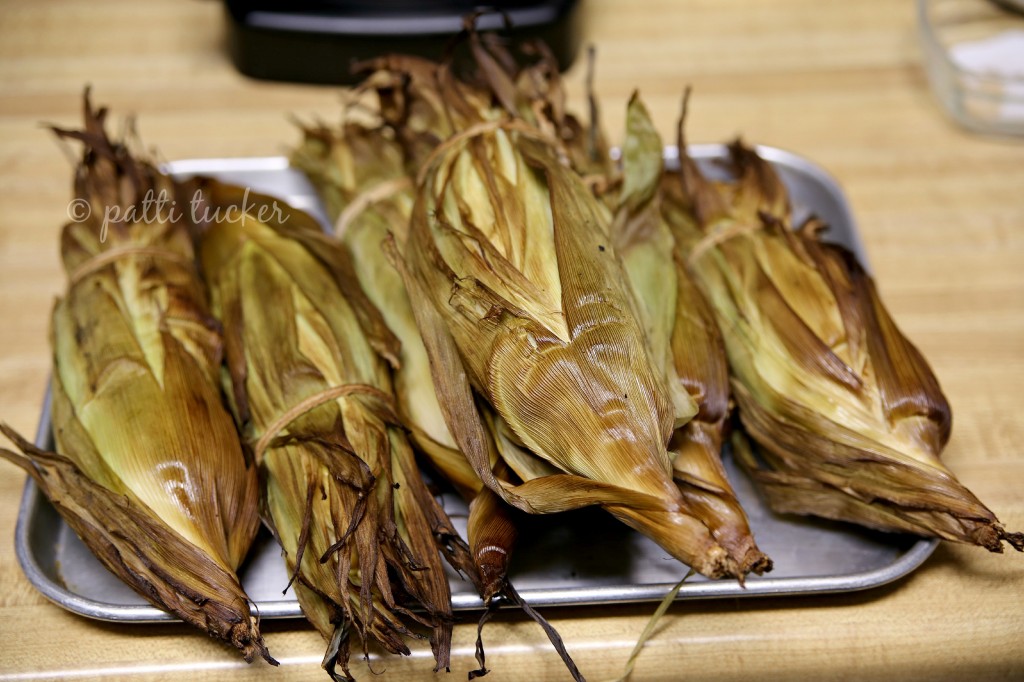
Time to shuck the corn. Or you can keep them as is until you're ready to serve them. Little kids love to shuck their own corn. Throw the corn, husks and all, on a platter or large plate and watch the fun.
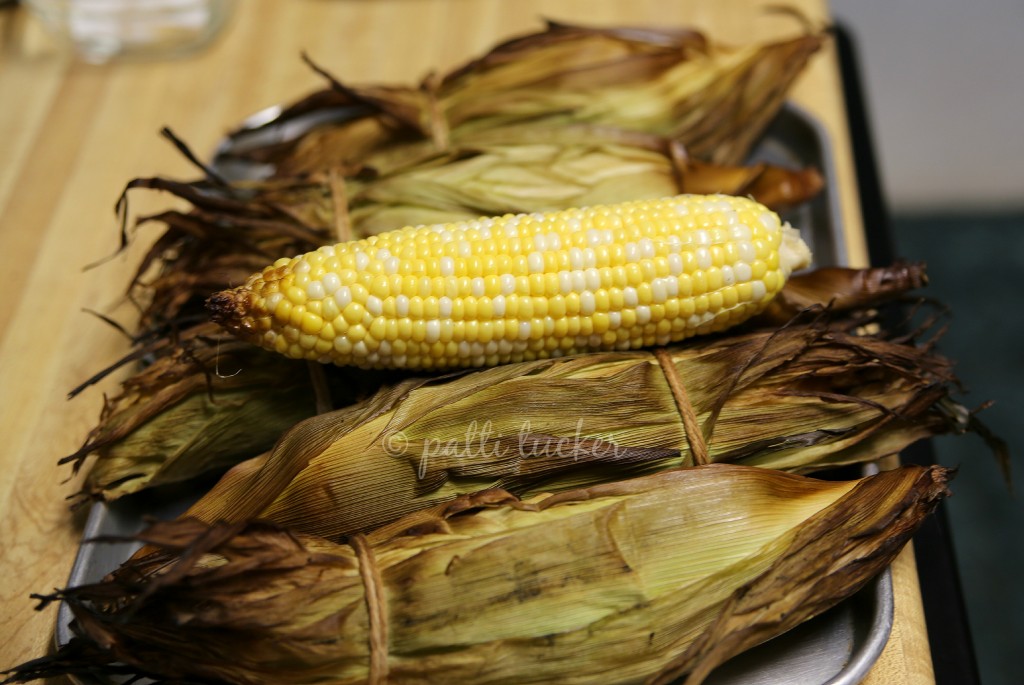
Once you discard of the husks, it's time to butter and salt those delicious veggies.
As a variation to the above grilling instructions, you can season prior to grilling. Go wild. No really, it's summertime...GO WILD!
Happy grillin', y'all.


This looks like something I want to try! Corn season hasn't really started where I like (Quebec, Canada), but it's on its way... 🙂 Found you at Show and Tell.
It is so easy, you'll wonder why you haven't already done it!
This is the best method ever! I told my husband about it and he wouldn't listen to me!
Some folks need to warm up to amazeball ideas. Show him this!
yum! I can't cook out without corn! I love it with chili powder and cotija cheese!
Love those additions to corn!
My favorite part of summer is getting to grill!
Love that part soooo much!
Good Golly that grilled corn looks delish! I'm gonna have to pick some up when Hubby is home next week and get to grillin'!
You're gonna love it!
These look so good! I may just have to try this for our 4th cookout.
DO IT! You won't regret it.
I love the instructions, and your photography rocks too! I can't wait to try this method! I'd love for you to share it with us over at Country Fair Blog Party, a once a month link up. We'd be thrilled to have you share what you've been up to!
Jan @ Tip Garden
thetipgarden.com
Thank you, Jan.